OneNote - Handwriting and drawing - Kunnskapsbasen
OneNote - Handwriting and drawing
This page describes the handwriting tool in OneNote for windows 10.
Norsk versjon - Håndskrift og tegning
Topic page for Microsoft 365 | Topic page for OneNote
How to write notes by hand
In OneNote, you have the opportunity to write notes by hand if you have a touch screen device.
Chose and format handwriting
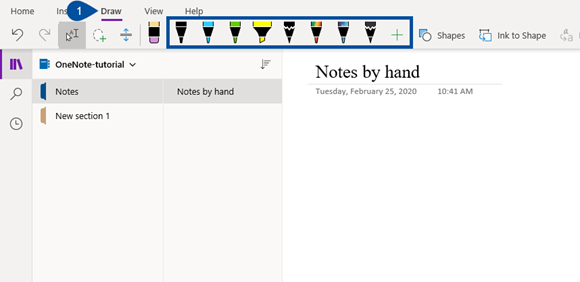
- Enter the Draw-tab (1) and choose one of the writing tools. You can choose between a pencil, pen or marker pen. A marker pen works as a highlighter by allowing you to highlight the text you have written.

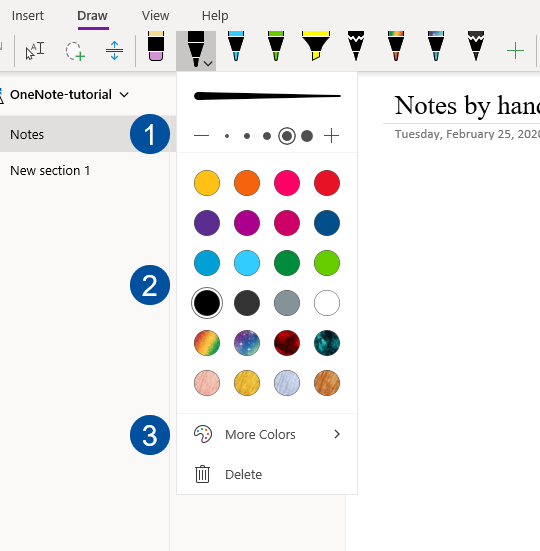
- When you have chosen a writing tool, you can change the color and thickness by clicking on the writing tool one more time. To change the thickness, click on one of the circles (1) at the top, or the plus and minus sign (1). If you wish to change the color, you can chose one of the already existing colors (2) or click on more colors (3) and create your own.

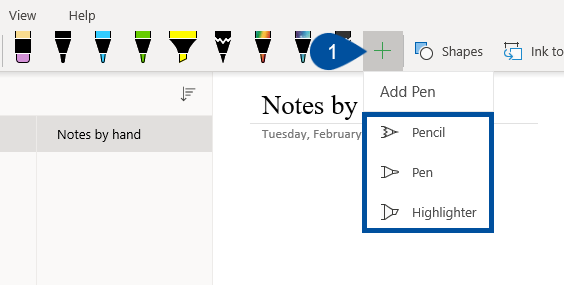
- If you wish to make a custom writing tool, click on the plus-sign (1) behind the already existing writing tools.Then choose whether to create a pen, pencil or marker pen.

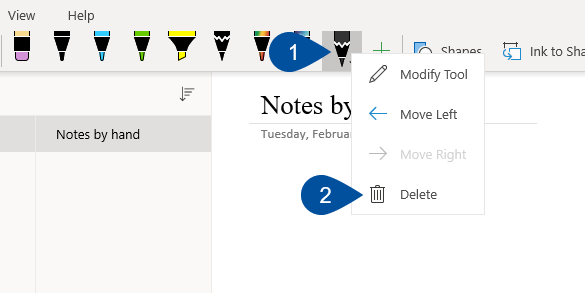
- The custom-made tool will now show up in the row of writing tools. You can change the thickness and color the same way as described above. If you wish to delete the writing tool, right-click on the relevant writing tool (1) and choose delete (2) in the menu that show up.

Delete handwriting
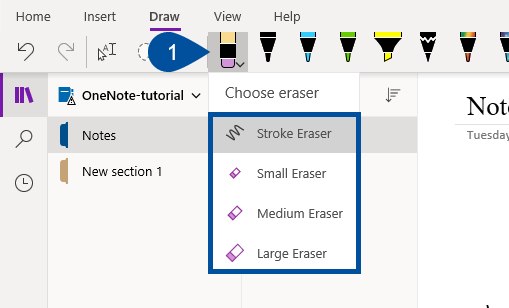
There are two ways of deleting handwriting: Erasers that allow you to remove parts of the drawing manually and stroke eraser that removes the entire line stroke with one click.
- Double-click on the eraser (1) to the left of the writing tools and chose what you wish to use.

- You can optionally click on the undo-button to the left to remove the last thing you drew.
Convert handwriting to text
In OneNote, you can easily convert your handwritten text to typewritten text. This retains the size and color of your handwriting.
- Click on Lasso select (1) in the draw-tab. By using lasso select, you can select multiple elements on the page at the same time.

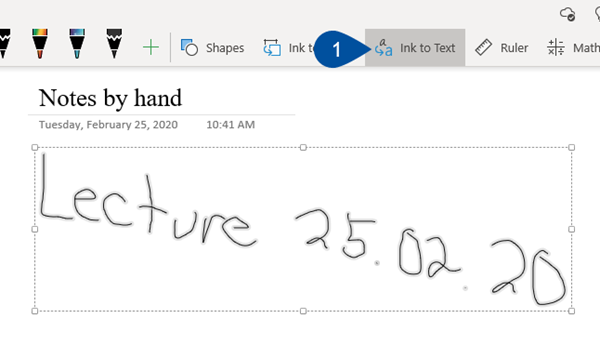
- Draw around the handwriting you wish to convert from handwriting to text, and click on Ink to text (1) in the tab above.

- Your handwritten text will now be converted to typewritten text. To change color and size go back to the home-tab and format the text as usual.
Draw straight shapes
When you are drawing shapes by hand, you can automatically correct these through OneNote. If you do not wish to draw your own shapes, you can find finished shapes by clicking on Shapes in the Draw-tab and chose one from the menu that appears.
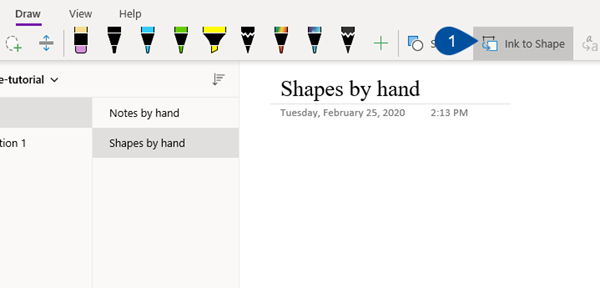
- Click on Ink to shape (1) in the Draw-tab.

- Draw a shape, such as a triangle or a square. When you have finished drawing the shape, it will automatically change to a shape with straight lines and corners. Note that this only works if you draw the shape in one continuous line.
Use the ruler
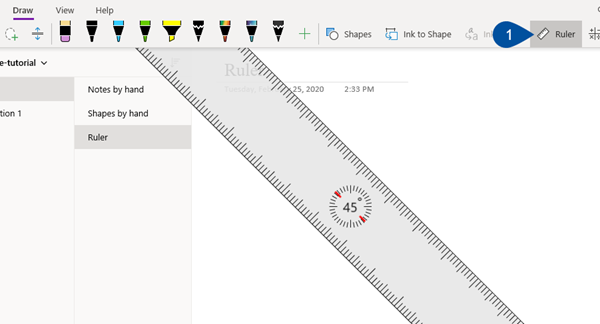
When you draw by hand, it can be practical to use a ruler. This can help you draw straight lines or measure distance. You can easily move or rotate the ruler to the angle you want. In the middle of the ruler, you see the current angle. Here you can also specify the exact angle you need. NB! The ruler can only be used on touch screen devices, because you have to use your fingers to change the angle of the ruler.
- Enter the Draw-tab and click on Ruler (1) to the right in the tab. The ruler will now appear on the page.

- To move the ruler to the position you want, use:
- One finger to move the ruler up/down or left/right.
- Two fingers to rotate the ruler to the angle you want.
- Three fingers to rotate the ruler five degrees at the time.
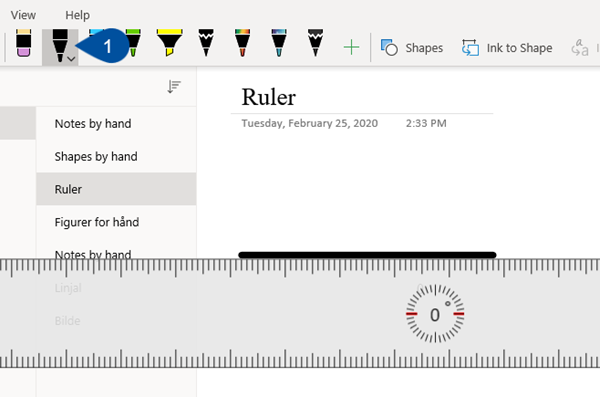
- You draw a line by using a pen or a pencil (1) in the Draw-tab.

- When you have finished using the ruler and want to hide it, click Ruler again in the Draw-tab.
Change back to keyboard
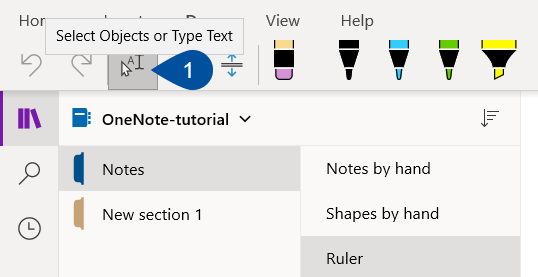
If you have written some notes by hand or drawn shapes, you can go back to write with the keyboard by clicking on Select objects or type text (1) in the tab above. You can now write as usual next to your handwritten notes. You can also move the shapes you have drawn.
Insert or remove extra space in the page
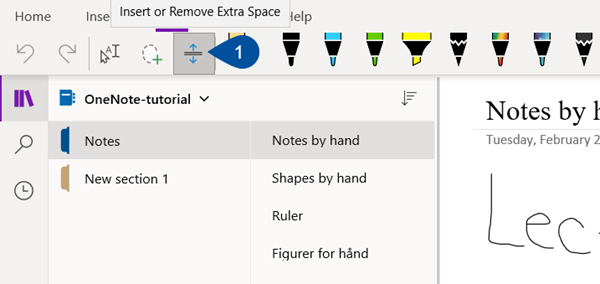
If you have written with handwriting or drawn shapes by hand, and discover you need extra space around it, you can use the tool Insert or remove extra space. This tool gives you the opportunity to move handwriting, drawings or shapes around the page. This way you can easily add more notes where it suits you.
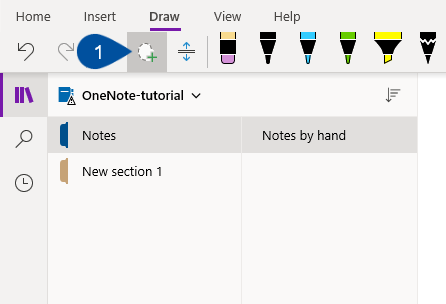
- Click on the Insert or remove extra space-icon (1) in the Draw-tab.

- Place the mouse cursor above, below or next to what you want to move. A line with arrows will appear. Click on the line and move the cursor in the direction you want to move/shift the handwriting, drawing or shape.

- When you have moved the handwriting, drawing or shape, you are able to write as usual with your keyboard where the handwriting, drawing or shape was earlier.

See also
- Files and multimedia
- Math tool
- Notebook - sections and pages
- Collaboration and sharing
- Accessibility tools
Contact
Orakel Support Services can help you if you have questions or encounter difficulties.