Adding a shared mailbox in Outlook - Kunnskapsbasen
Adding a shared mailbox in Outlook
This article will show you how to add a shared mailbox to Microsoft Outlook.
Norsk versjon - Legge til en fellespostkasse i Outlook
Innholdsfortegnelse [-]
If you have recently been given access to a shared mailbox, you must log out of Windows and log in again to update your group memberships. Then start Outlook and follow the routine below.
Topic page about E-mail and calendar | Pages labeled with Outlook
Windows 10 and Outlook 2016
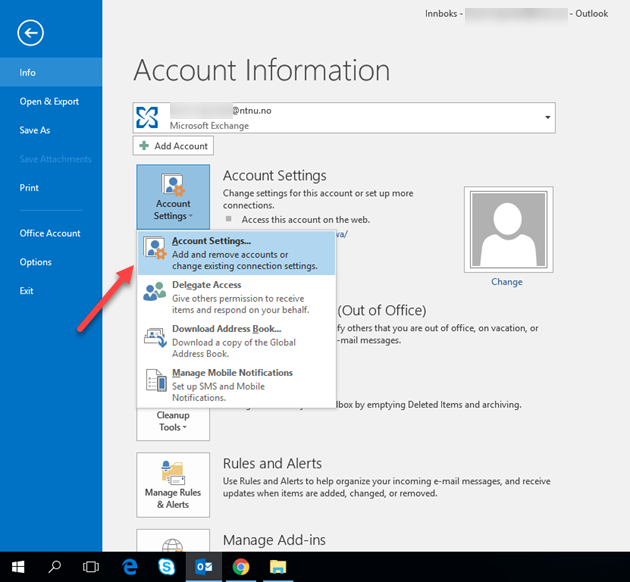
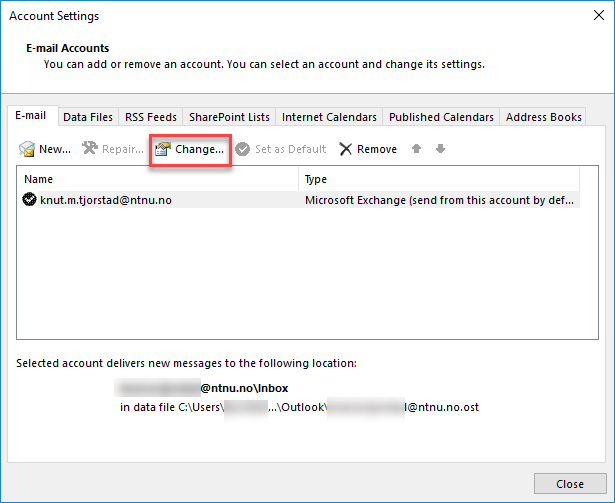
- Navigate to the File tab in Outlook. In the Info tab press Account settings->Account settings.

- Highlight the account with access to the shared mailbox and press Change.

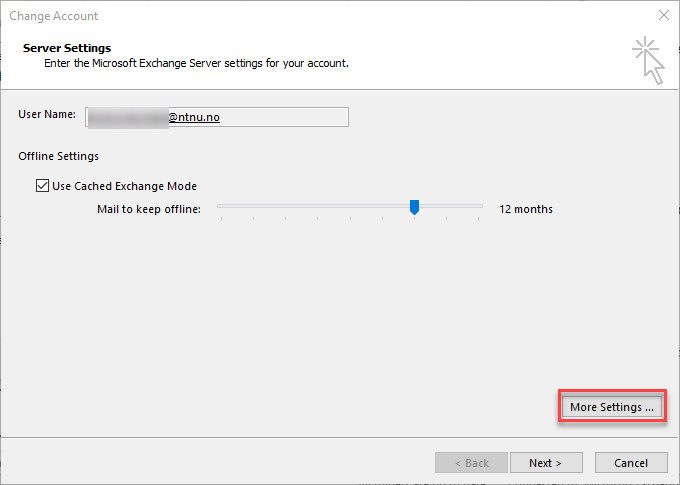
- Press More settings...

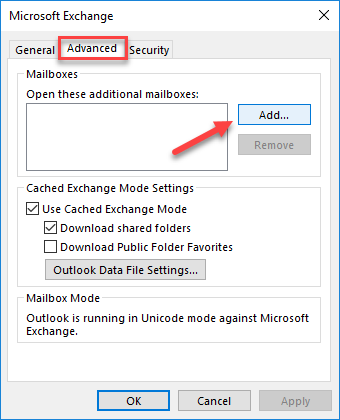
- Go to the Advanced tab and press Add...

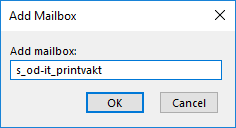
- Enter the name or address of the shared mailbox and press OK.

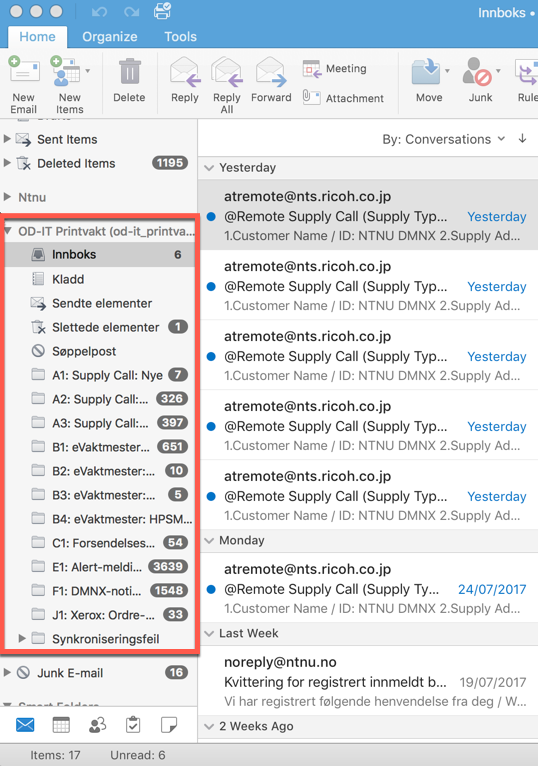
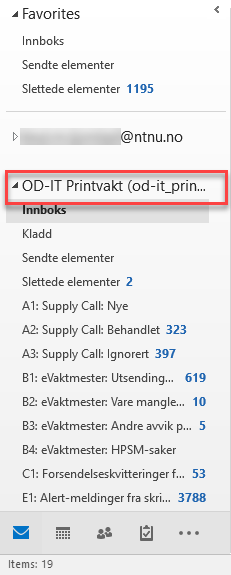
- Then press Apply->OK->Next->Finish and go back to your main Outlook window. You should now see the shared mailbox in the overview to the left of the Outlook window.

OSX and Outlook 2016
When using Outlook on Mac, you have to set up the shared mailbox as a “delegate”.
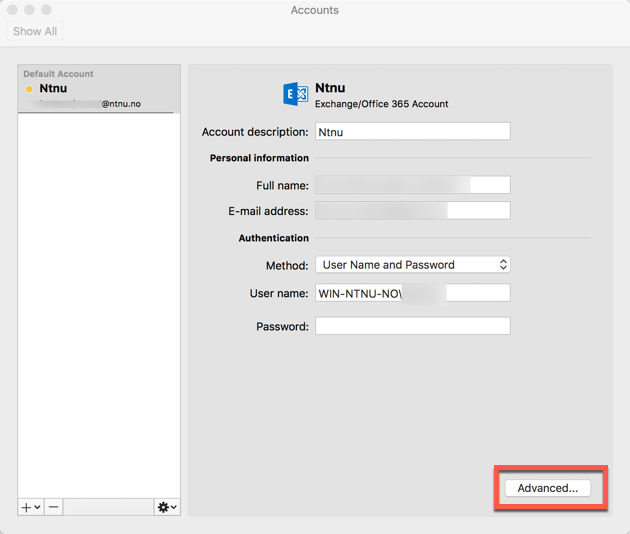
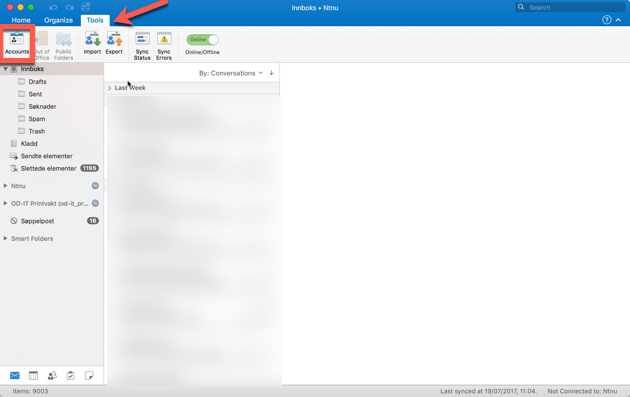
- Navigate to the Tools tab and click Accounts.

- Highlight the account which is going to access the shared mailbox and click Advanced.

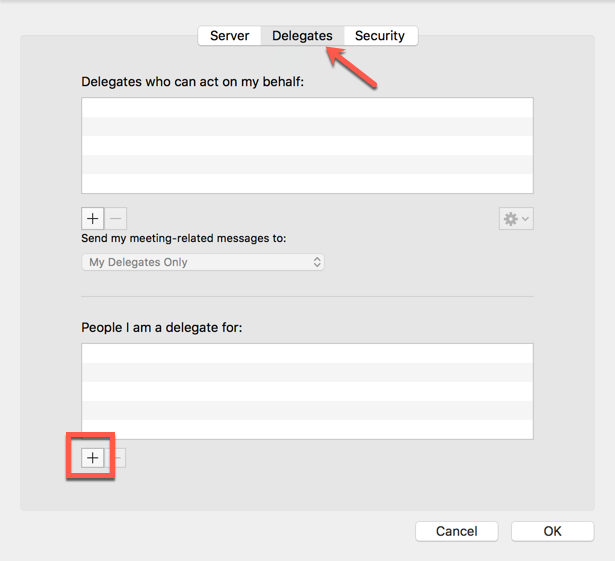
- Go to the Delegates tab and click the plus button in the field that says People I am a delegate for.

- Enter the name of the shared mailbox and click Add.

- Click OK and close the Accounts panel. The shared mailbox should appear in the list to the left of the Outlook window.

Contact
Orakel Support Services can help if you encounter difficulties or if you have any questions.