Zoom - Recording - Kunnskapsbasen
Zoom video lectures
Zoom - Recording
Here you can read more about recording in Zoom.
Norsk versjon: Zoom - Opptak
Innholdsfortegnelse [-]
Zoom offers an opportunity to record content, which can be done in several ways.
Saving Recordings on Your PC
- Start a meeting, or join a scheduled meeting using the Zoom client.
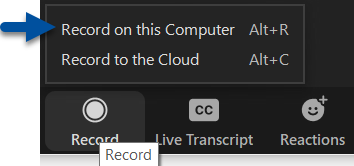
- Find the Record button on the bottom of the screen.

- Select Record on this Computer.

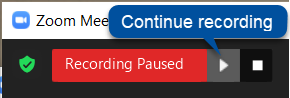
- On the top left of your screen, you will be able to see a status bar where you can pause or stop the recording.

- When the recording is paused, you can either continue the recording or stop it.

- When the recording is stopped, you will receive the following message on the top right of your screen.

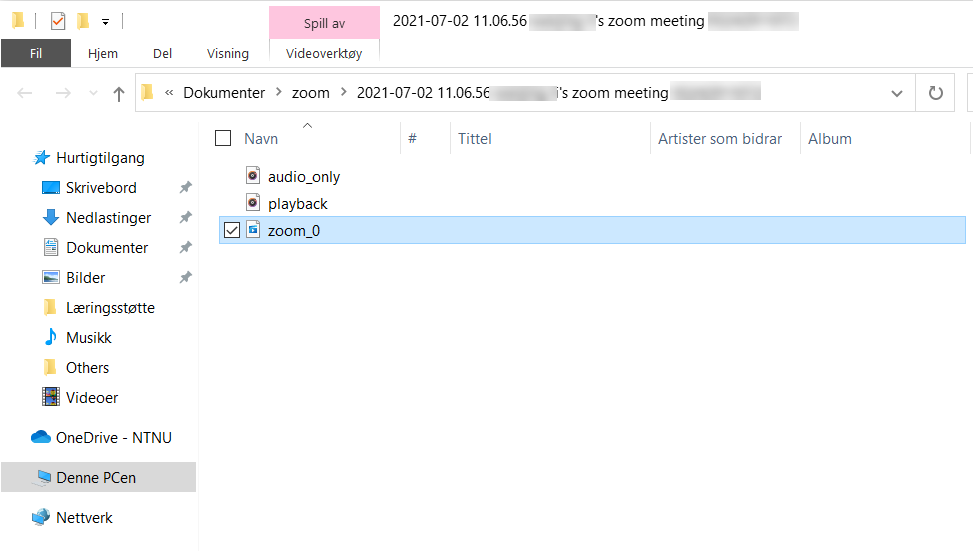
- When the meeting has ended, a folder containing any recording(s) you made during the meeting will pop up. Recordings are saved in mp4 format.

Saving Recordings in Panopto
To create recordings that are saved directly in Panopto, it is important to make sure that you are logged in on Zoom with your NTNU user. Read more about how to do that here. You must also ensure that you have activated your Panopto account. Information on how to activate your Panopto account can be found here.
- Start a meeting, or join a scheduled meeting using the Zoom client.
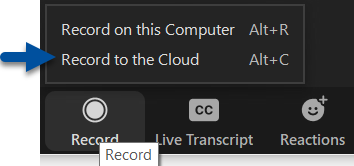
- Find the Record button on the bottom of the screen.
- Select Record to the Cloud.

- On the top left of your screen, you will be able to see a status bar where you can pause or stop the recording.
- When the recording is paused, you can either continue the recording or stop it.
- When you press "Stop", you will receive a warning where you must confirm that you wish to stop the recording.

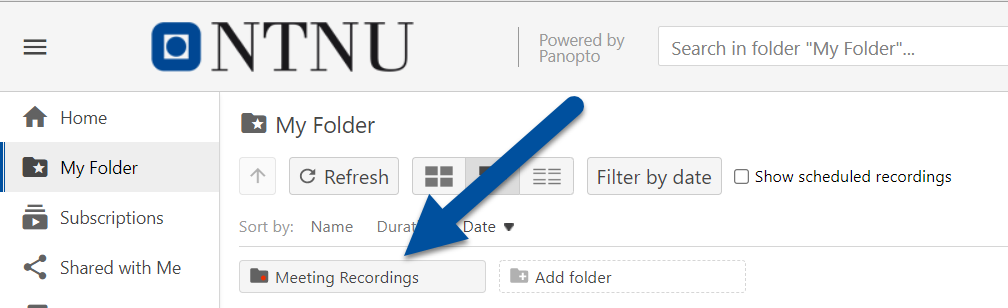
- When the meeting has ended, you will not receive any confirmation or notification that the recording has been saved. You can find the recording in the folder entitled Meeting Recordings within My Folder in Panopto. Note that it may take some time before the recording appears in Panopto, and that the Meeting Recordings folder is only created after the first time you use the Record to the Cloud function in Zoom.

See Also
Contact
The Orakel Support Services can assist you if you encounter any problems.
Contact Section for Teaching and Learning Support for help with digital teaching through NTNU Help.
4217 Visninger