Templates for Word - Kunnskapsbasen
Templates for Word
Information about templates for Microsoft Word that should be used when creating documents such as letters, notes and minutes on behalf of NTNU.
Topic page about logos, templates and our graphical profile
Norsk versjon - Bruke NTNUs Word-maler
NTNU has published templates that should be used when creating documents such as letters, notes and minutes. The templates are available as shown in this article for everyone using Microsoft Office, both on Windows and Mac OS X. You may also find them in the Ephorte system.
NB! Make sure you check that you are connected to the network drive felles.ansatt.ntnu.no before you try to find the templates. Instructions on how to connect.
How to use the templates
Windows
- Open Word.
- In the upper left corner, press "File" followed by "New".
- You should have a choice for templates other than "Featured", e.g. "Personal" or "Work", select that one.

- Some users may need to open the folder "Office".
- If needed: navigate to the templates in the folder of your department.
- Choose your template, normally there should be four different templates:mal-brev = template-letter, mal-mote = template-meeting, mal-notat = template-note, mal-referat = template-minutes
- Select your desired template.
- If necessary, allow macros and content editing.
Mac OS X
- Open Word.
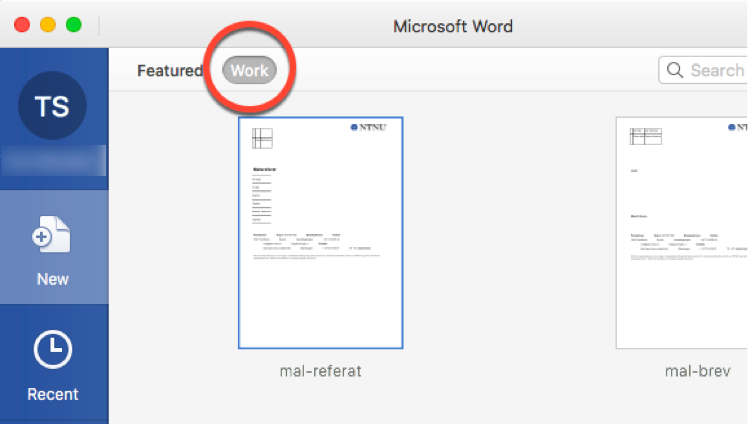
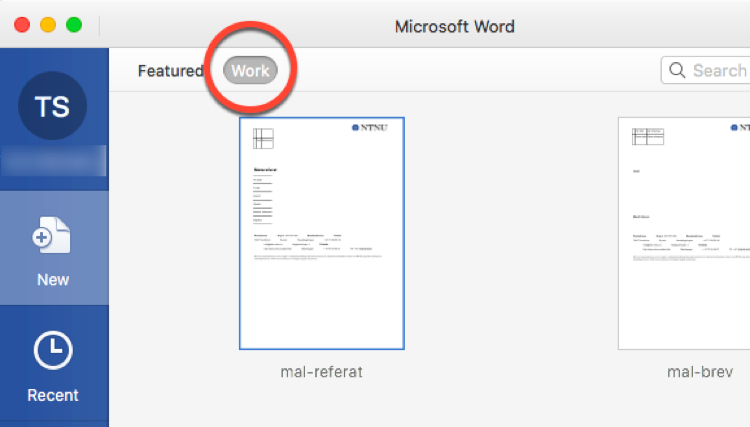
- Select "Work" instead of "Featured" to show the NTNU templates.
- Navigate to your organizational units folder.

- Select your desired template, normally there should be four different templates:mal-brev = template-letter, mal-mote = template-meeting, mal-notat = template-note, mal-referat = template-minutes
- Press the "Select" button in the lower right corner.
- If prompted: fill in relevant information
- Select language, English should be available.
- Press "OK".
How to set up templates
Windows
- Ensure that your PC is connected to the network drive felles.ansatt.ntnu.no, you may find instructions on how to connect in the related Innsida article.
- Open a Word document.
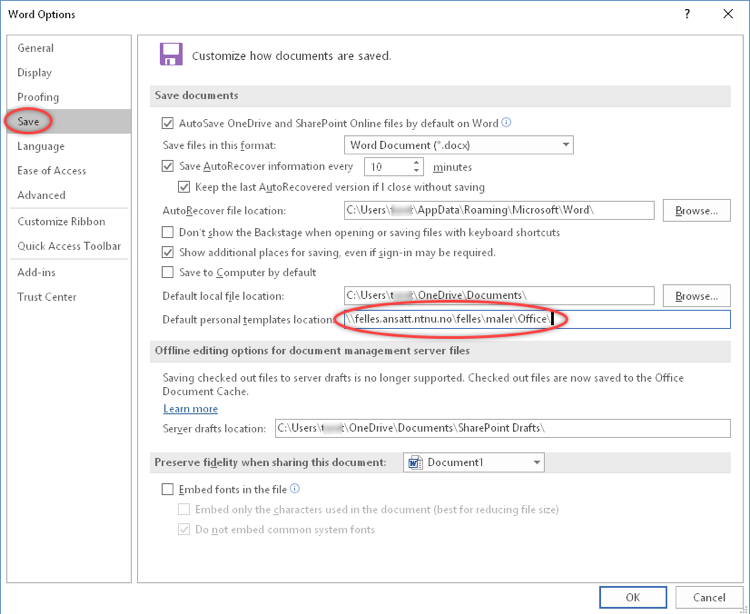
- Click "File" followed by "Options".
- Select "Save" in the left side menu of the window that appears.

- Enter "felles.ansatt.ntnu.no\felles\maler\Office" in the "Default personal templates location" field.
- Press "OK" to save.
Mac OS X
- Ensure that your Mac is connected to the network drive "smb://felles.ansatt.ntnu.no/felles", you may find instructions on how to connect in the related Innsida article.
- Open a Word document.
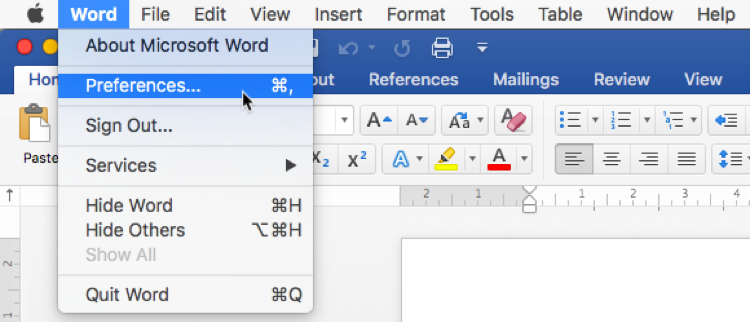
- In the upper left corner, press "Word" followed by "Preferences...".

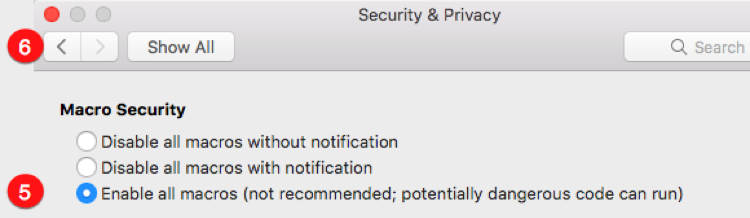
- Press "Security & Privacy" under Personal Settings

- Select "Enable all macros" under Macro Security

- Press the back button.
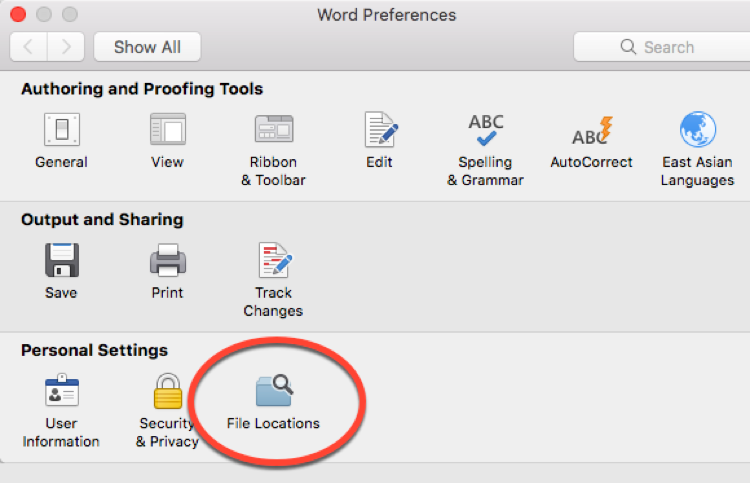
- Select "File Location" under Personal settings.

- Press the line containing "Workgroup templates" and then press "Modify..."
- Navigate to the network drive "smb://felles.ansatt.ntnu.no/felles"
- Open the folders "maler" followed by the folder "Office".
- Press "Open".
- Make sure the correct folder is set as target (felles.ansatt.ntnu.no\felles\maler\Office)
- Save and restart Word.
You may now select the NTNU templates by selecting "Work" instead of "Featured" in the template section when creating new documents in Word.
Find the path for your department. Select the folder containing templates for your department and choose the the template you want.
Department information
Department information (Avdelingsinformasjon in Norwegian) should be filled automatically. This doesn't work in Office 2016 for Mac OS X where you will have to fill out the department information manually.
Personal information
You may need to fill out personal information the first time you create a document based on a template.
Related articles
Contact
The Communication Division or Orakel Support Services may help if you have questions.