Group submission in Inspera - for students - Kunnskapsbasen
Group submission in Inspera - for students
This site contains information and guidance for students who are to hand in group assignments in Inspera.
Norsk versjon: - Gruppeinnlevering i Inspera - for studenter
Topic page about exams | Pages labeled exam
About group submissions in Inspera Assessment
All group members have the possibility to upload/submit answers on a test, but be aware that an uploaded answer is valid for the entire group. I.e., you submit on behalf of all group members when uploading an answer.
Note that it is only possible to view the test for one group member at the time.
If the test is set up with automatic submission when the test ends, the last uploaded file is the one which is handed in when the deadline expires.
As a group member you can see which file the other group members have uploaded/handed in. You can see the uploaded file under “My tests” when the test is active, or in the archive when the test is finished.
Groups in Inspera can be set up in different ways – predefined groups and student managed groups.
Note! All candidates, including candidates who are planning on writing solo, must be assigned to a group. This applies to both predefined and student managed groups alike.
Predefined groups
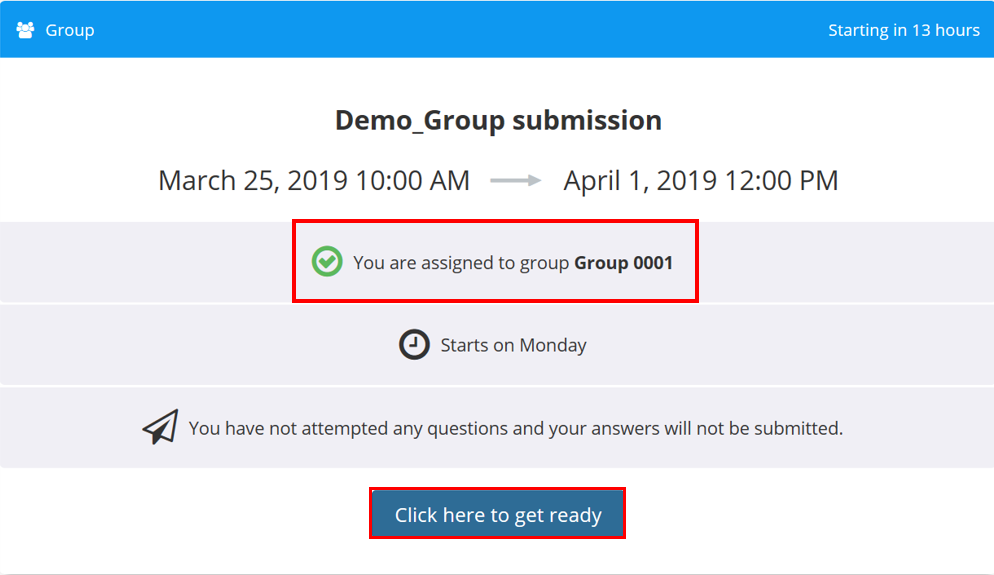
For predefined groups, the groups are determined by the administration at the department. In Inspera it looks like this:

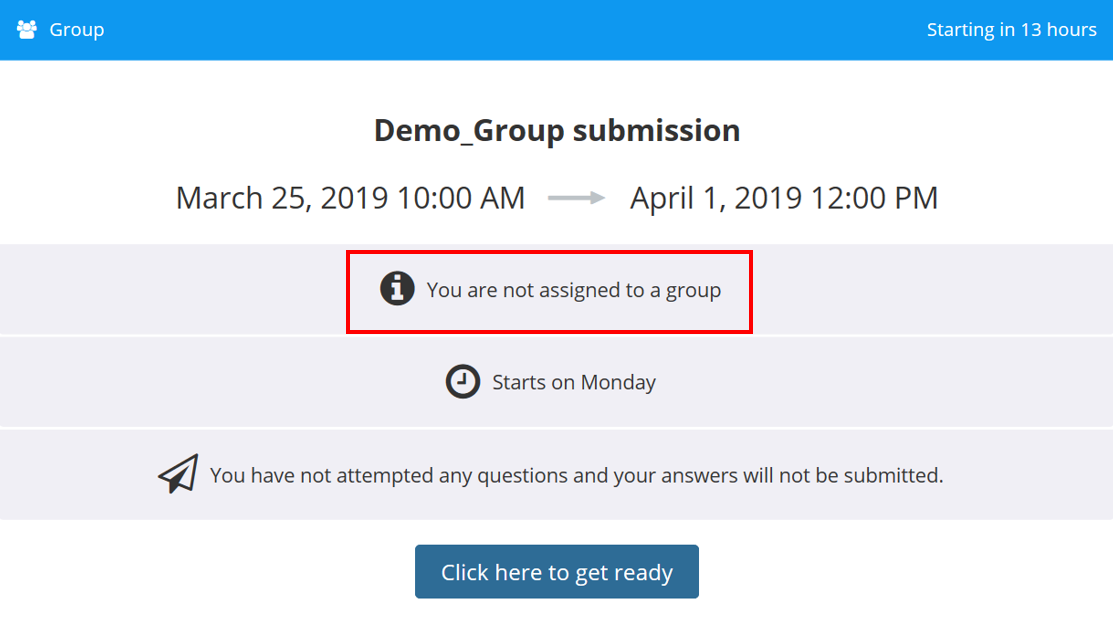
After clicking «Click here to get ready» you will see whether you have been assigned a group or not. If you have not been assigned a group you will not be able to open the test in Inspera when the test opens. If this is the case, contact the department.

Student managed groups
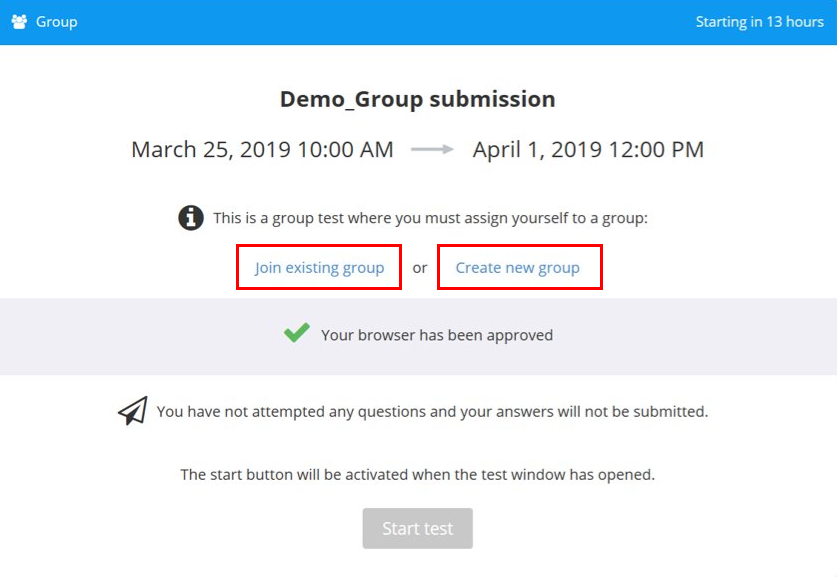
There are two types of student managed groups – with and without password protection. In both cases, the candidates themselves define the groups. You can either create a new group or join an existing group. A group must be created only once, thus it is important to clarify which group member who creates the group.
Open groups
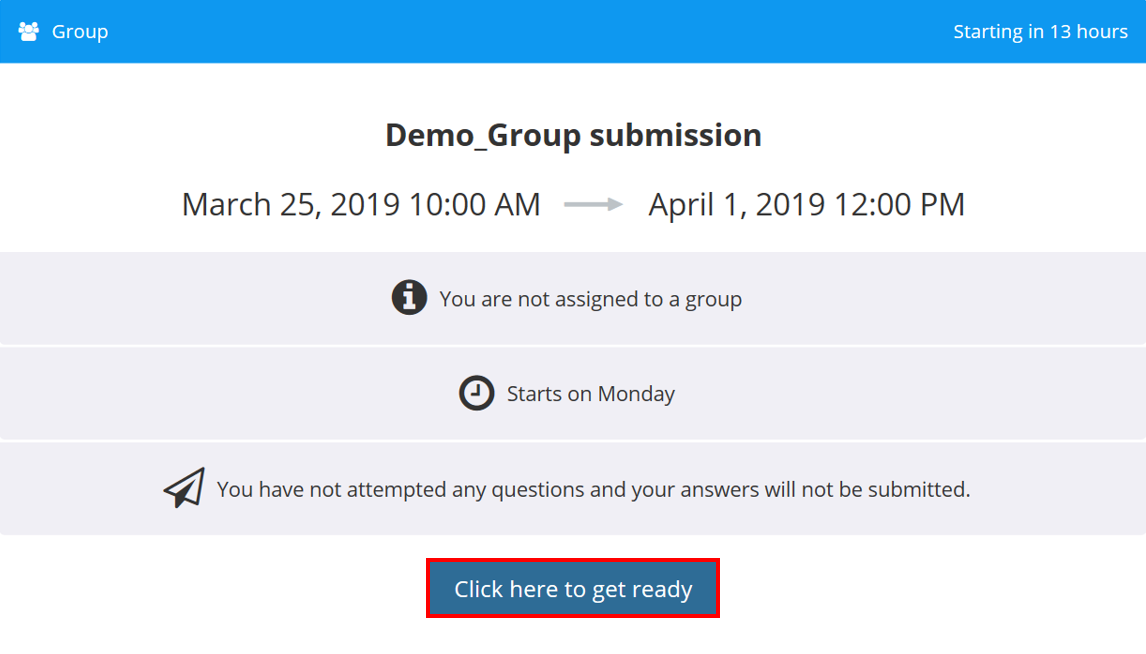
View the test and click «Click here to get ready».


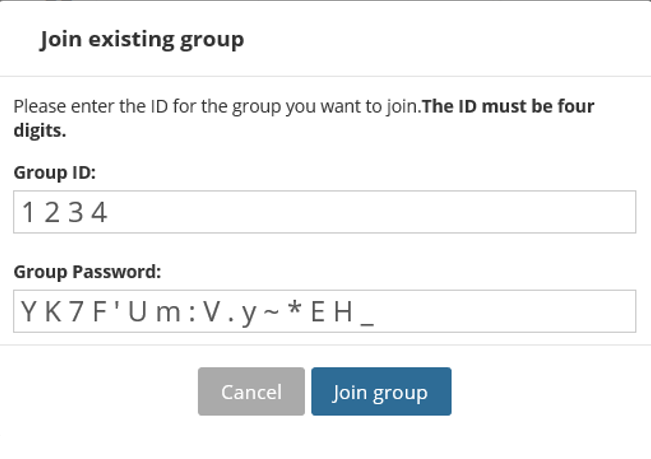
If you click «Create new group» you have to pick a four-digit PIN-number. The other group members need this number to be able to join the group you have created.

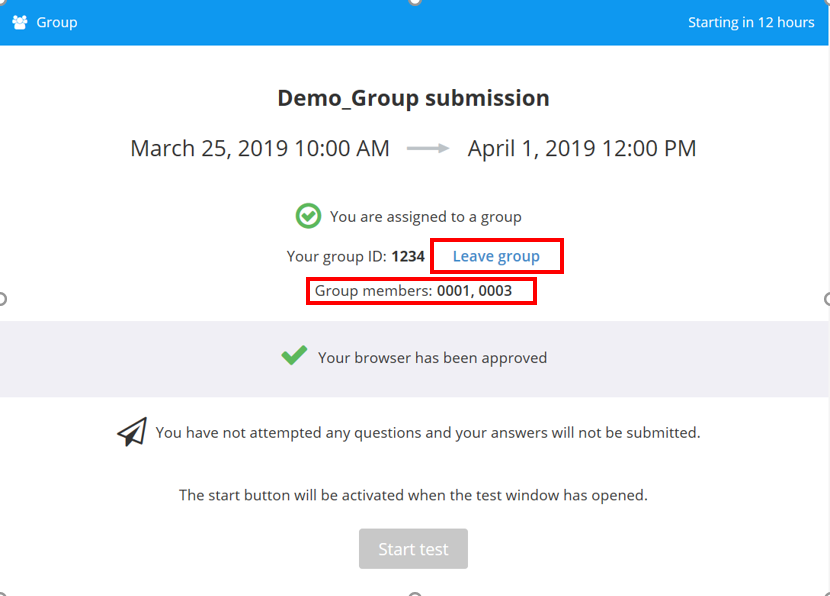
When you have chosen the PIN-number and created the group, you have to let the other group members know the PIN-number.
If you want to join an existing group, you enter the PIN-number you have gotten from the candidate who created the group.
Note! The PIN-number will automatically become the name of the group, which is visible to the grader.

When you have joined a group you will see the candidate numbers of all the members in the group. You can also leave the group if you have joined the wrong group or have to switch group.

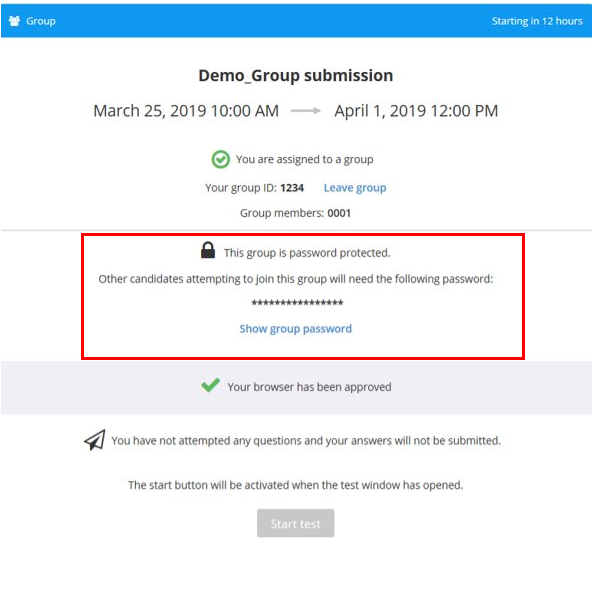
Password protected groups
Password protected student managed groups are created and works in the same way as student managed groups without password protection (open groups). The difference is that Inspera generates a password when the group is created. New members require both the password and the PIN-number to join a group.


If you want to join a password protected group, enter the correct PIN-number and password and click “Join group”.
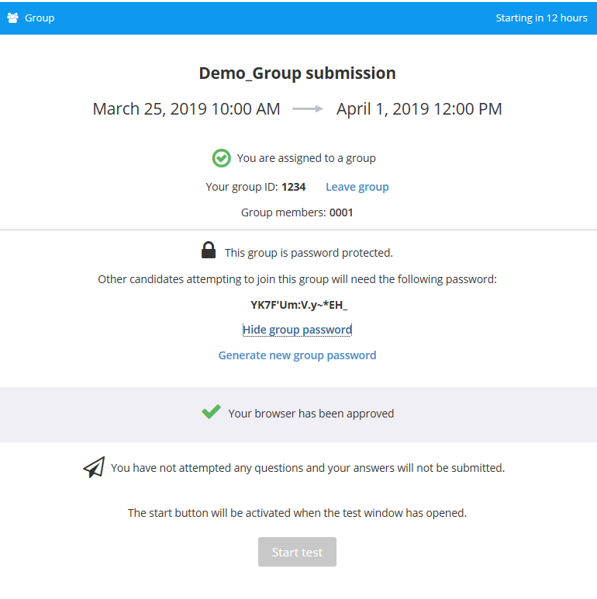
Note! The generated passwords are 16 digits long, and consist of numbers, letters and symbols, so pay close attention when entering the password.
