Blackboard - introduction to the user interface - Kunnskapsbasen
Blackboard - introduction to the user interface
On this page you will find information about the user interface in Blackboard, the menu options in the top menu, and the most basic parts of a standard course.
Innholdsfortegnelse [-]
Norsk versjon - Blackboard - Introduksjon til brukergrensesnittet
Topic page Blackboard | Pages labelled Blackboard
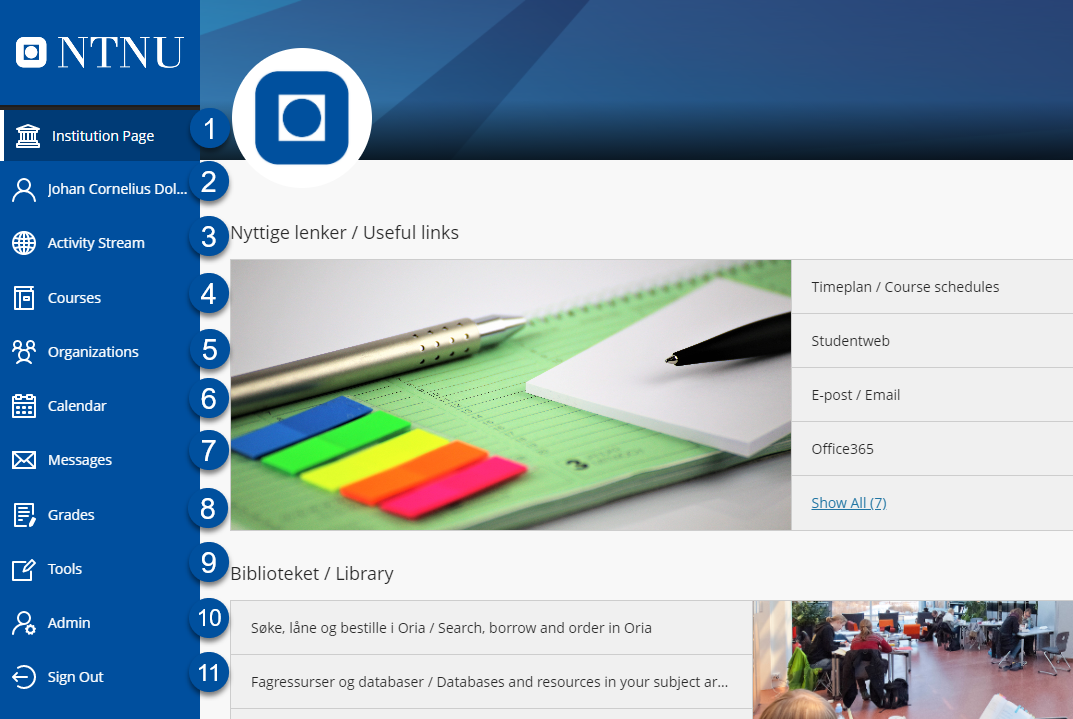
Main Menu
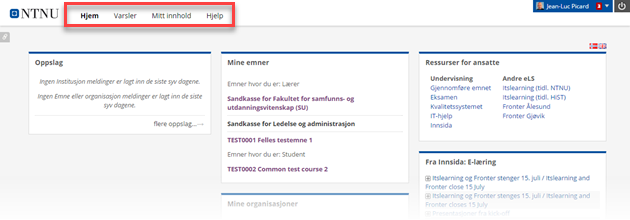
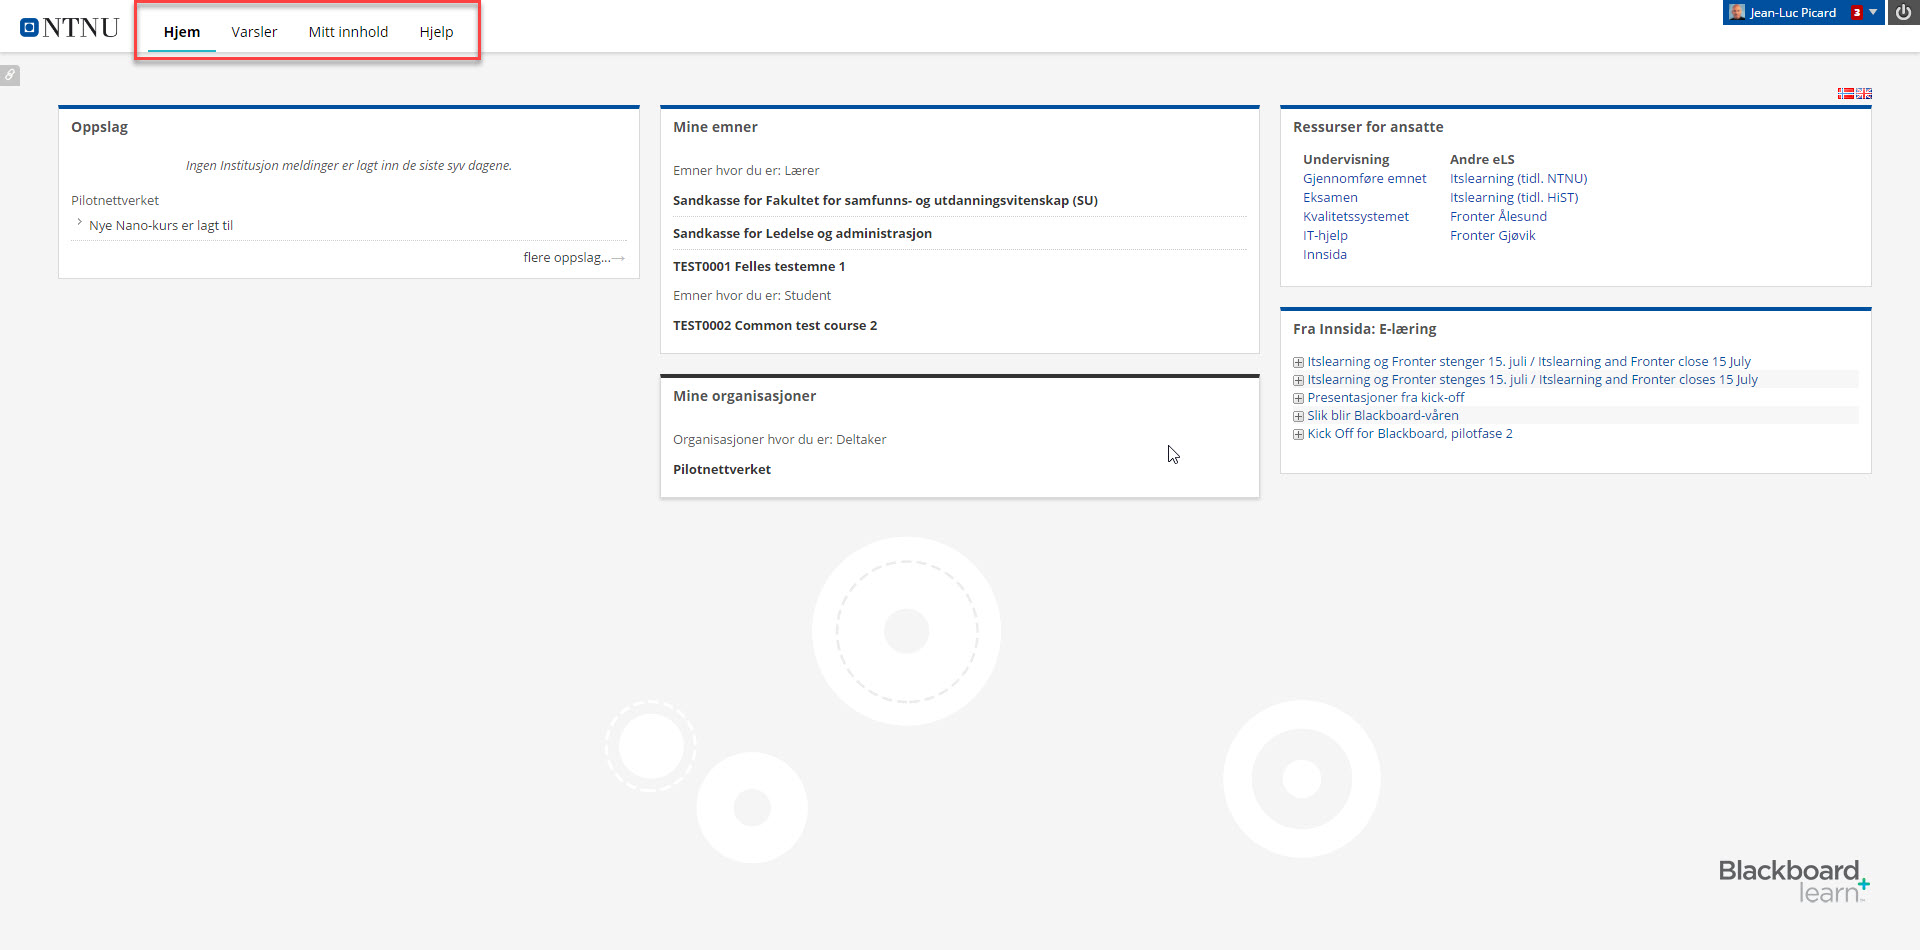
When you log in to Blackboard, you will be taken to the institution page. You will see blackboards main menu on the left side of the screen. The menu contains eleven choices:

- Institution Page: Useful links picked by NTNU.
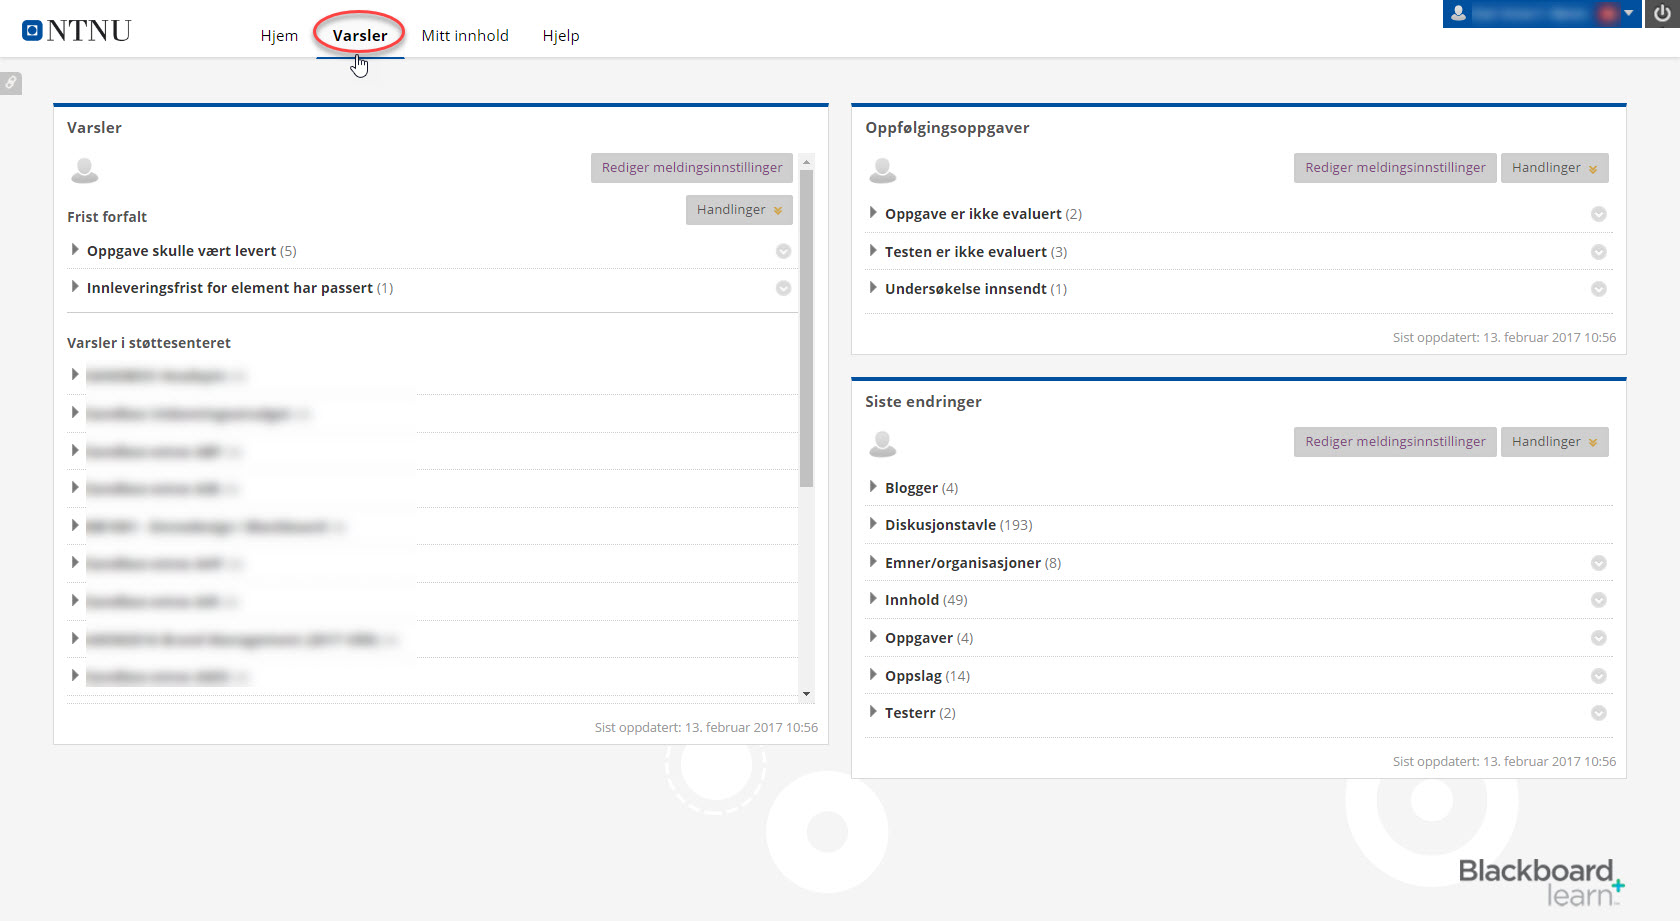
- [Your name]: Notification and language settings. This page also contains information regarding your blackboard user.
- Activity Stream: A list of updates in your courses and organizations.
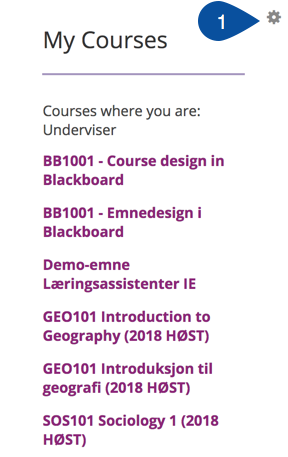
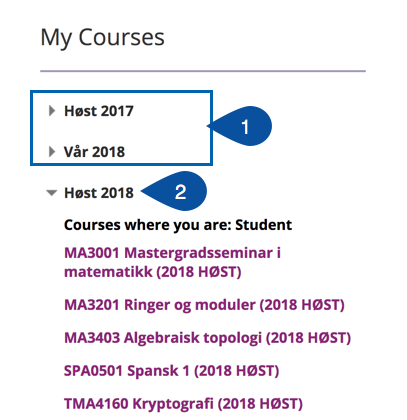
- Courses: A list of all your courses. You can search and sort within your list.
- Organizations: A list of all your organizations. Organizations and courses are basically the same, except the organizations being connected to your program of study.
- Messages: Messages from your different courses.
- Grades: An overview of submissions that have been, or should be, graded. The tasks are sorted by course.
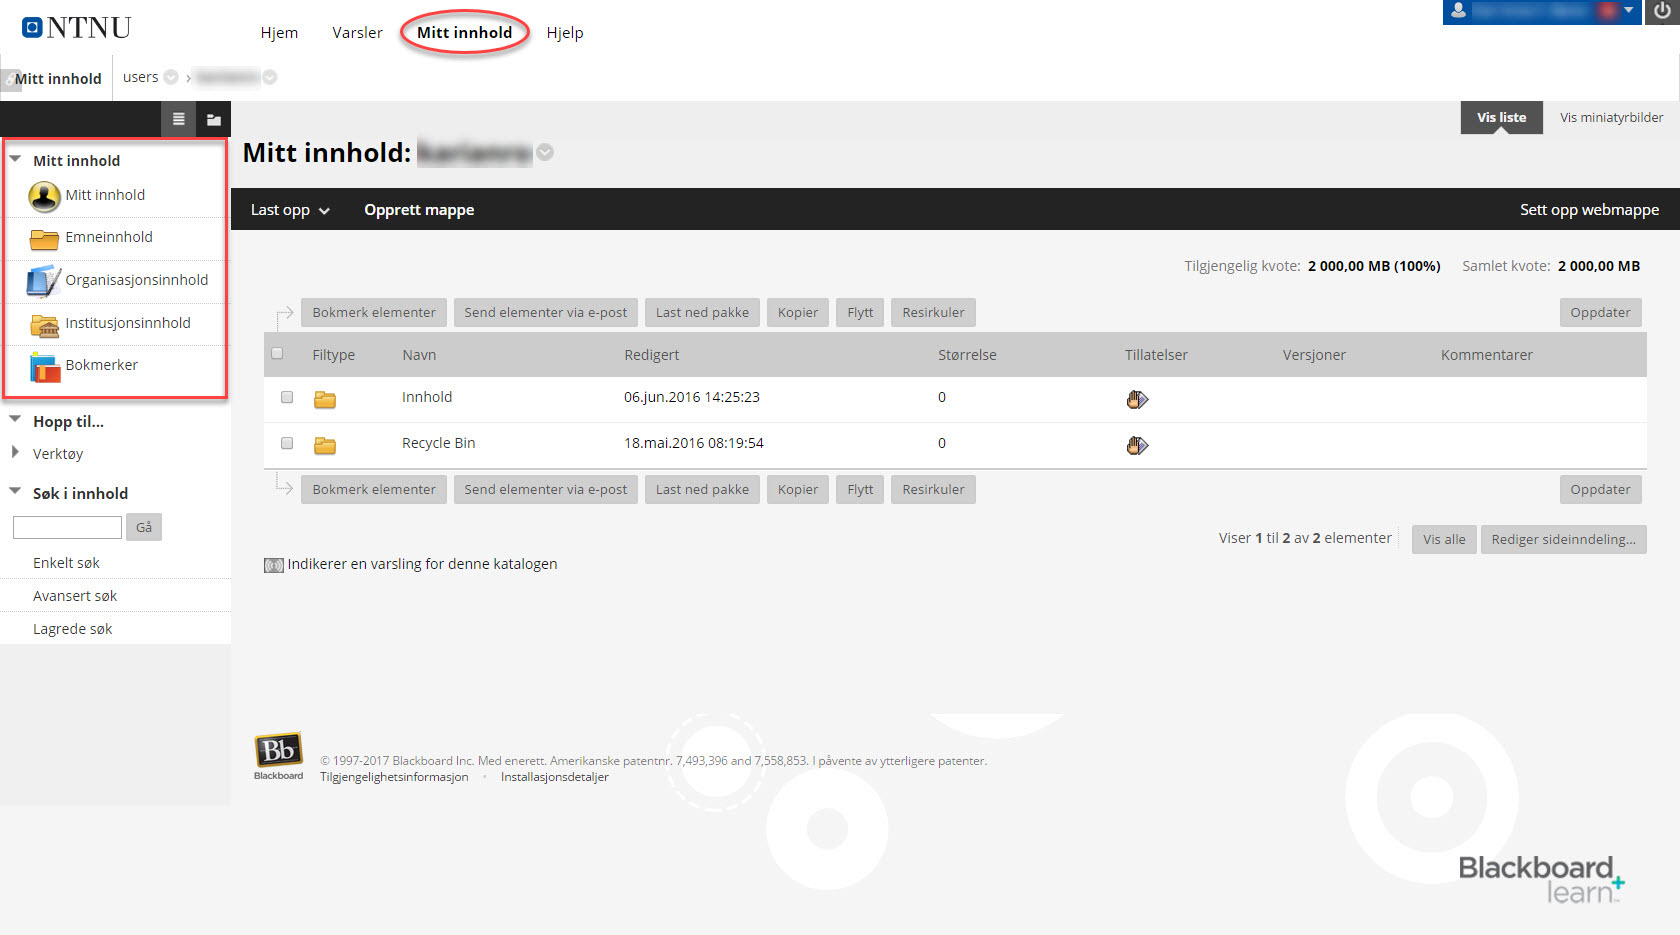
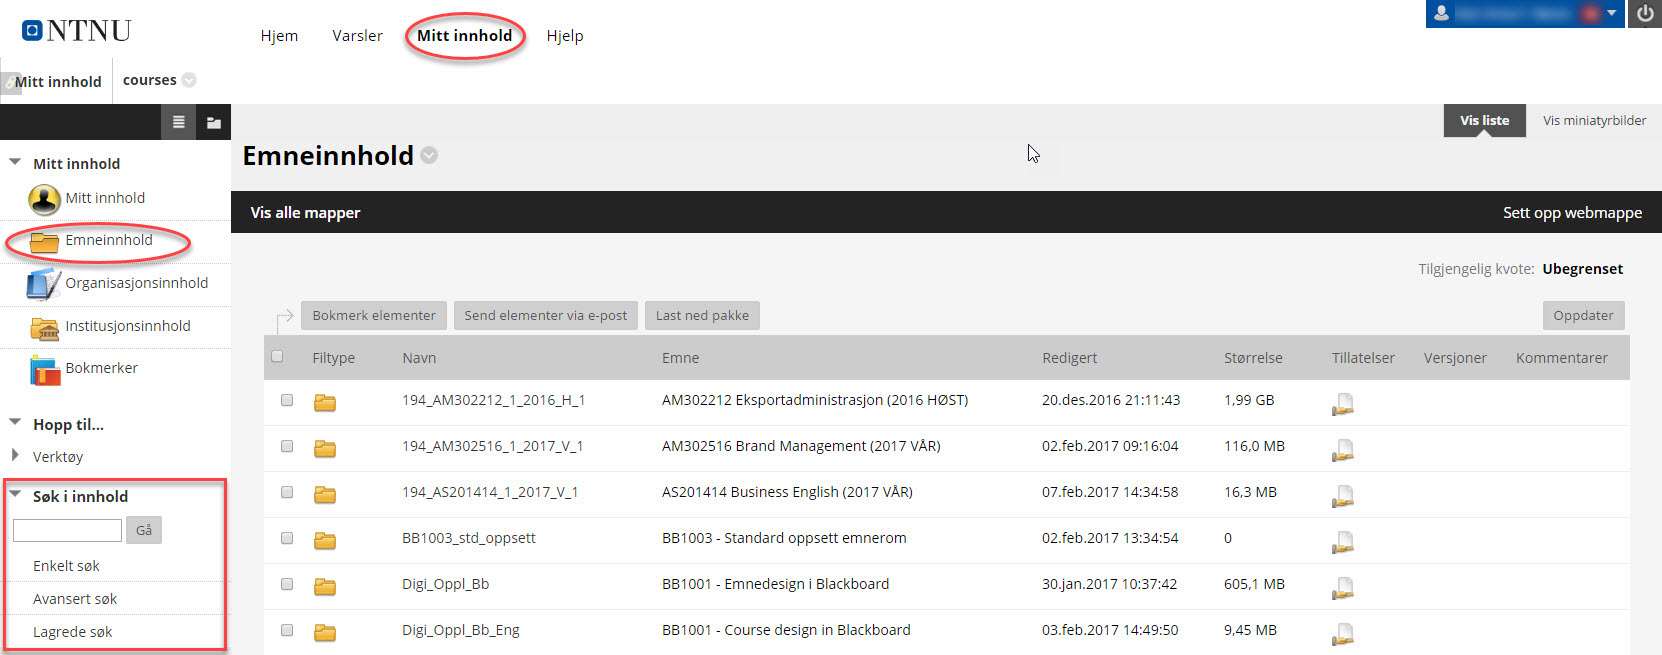
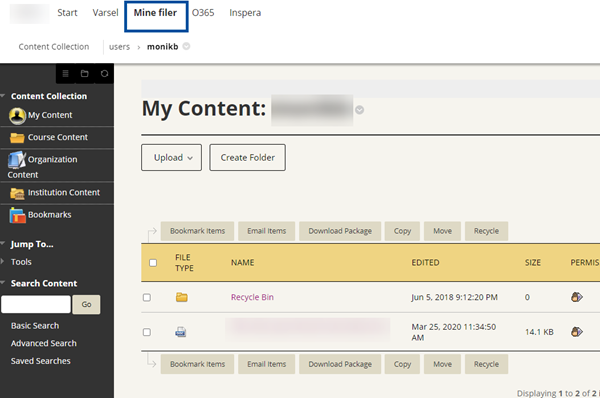
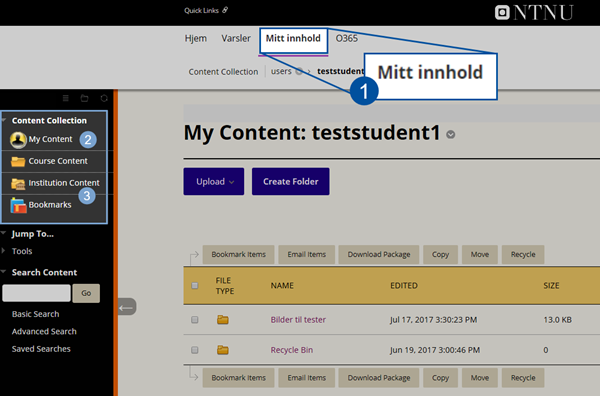
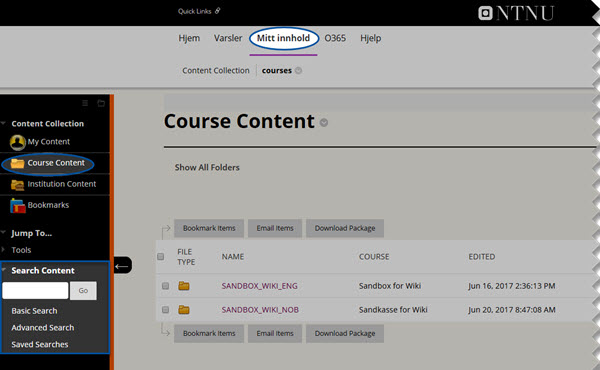
- Tools: Takes you to My Content and Qwickly tool.
- Admin: Search for users, courses and organizations.
- Sign out: Sign out of Blackboard.
Course design
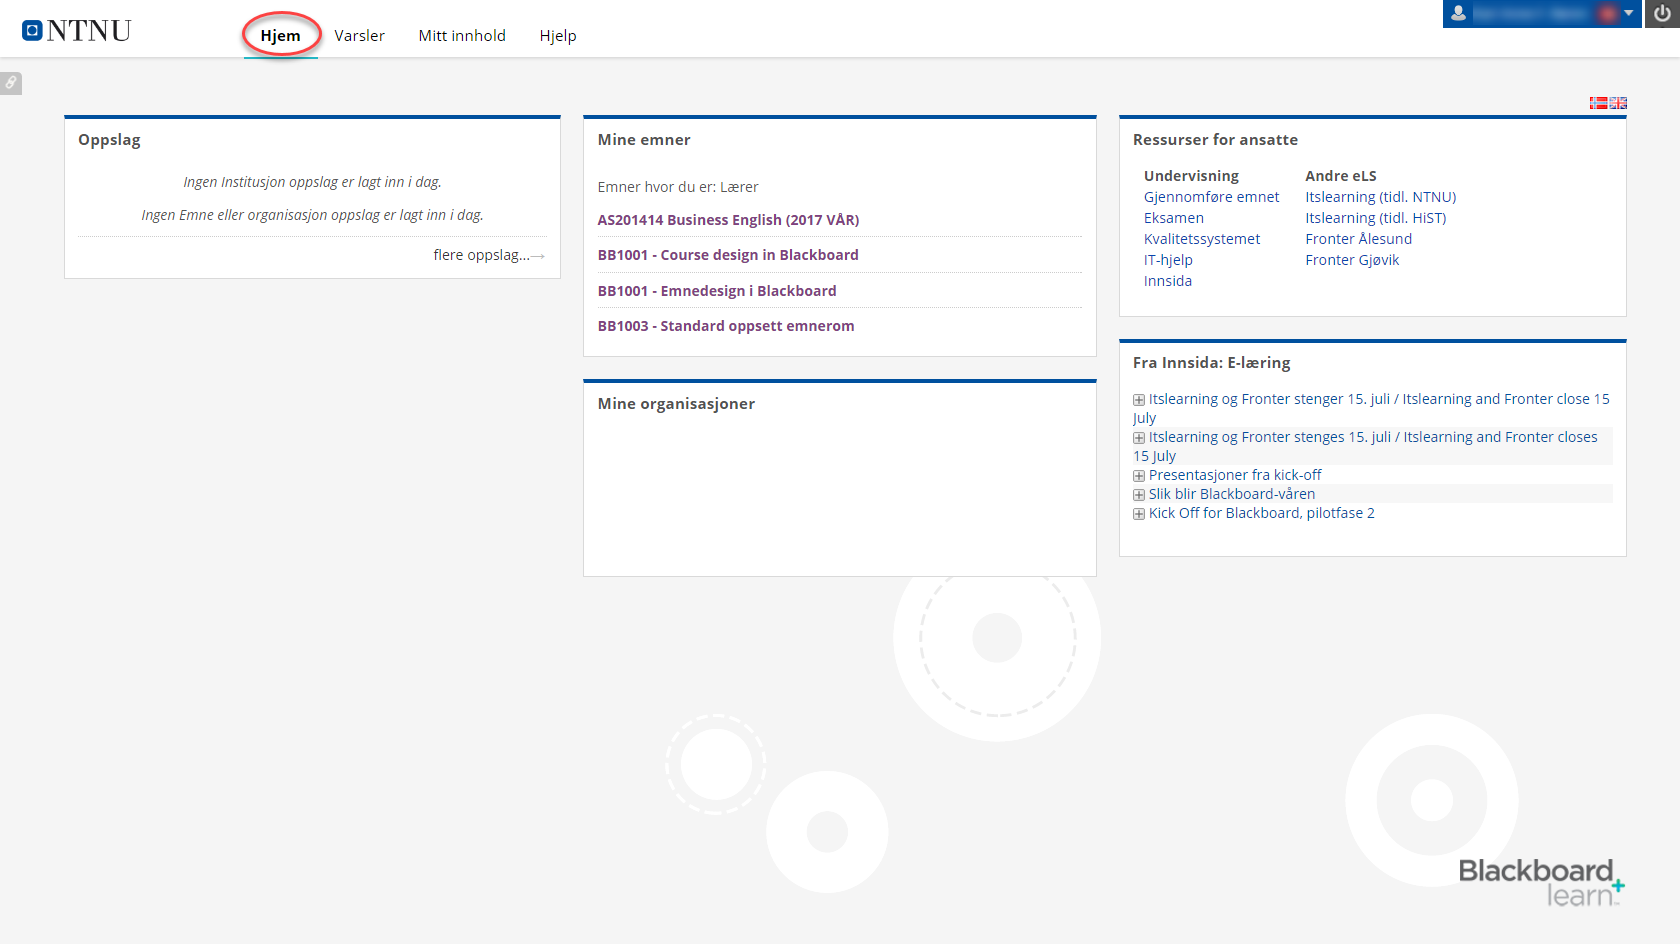
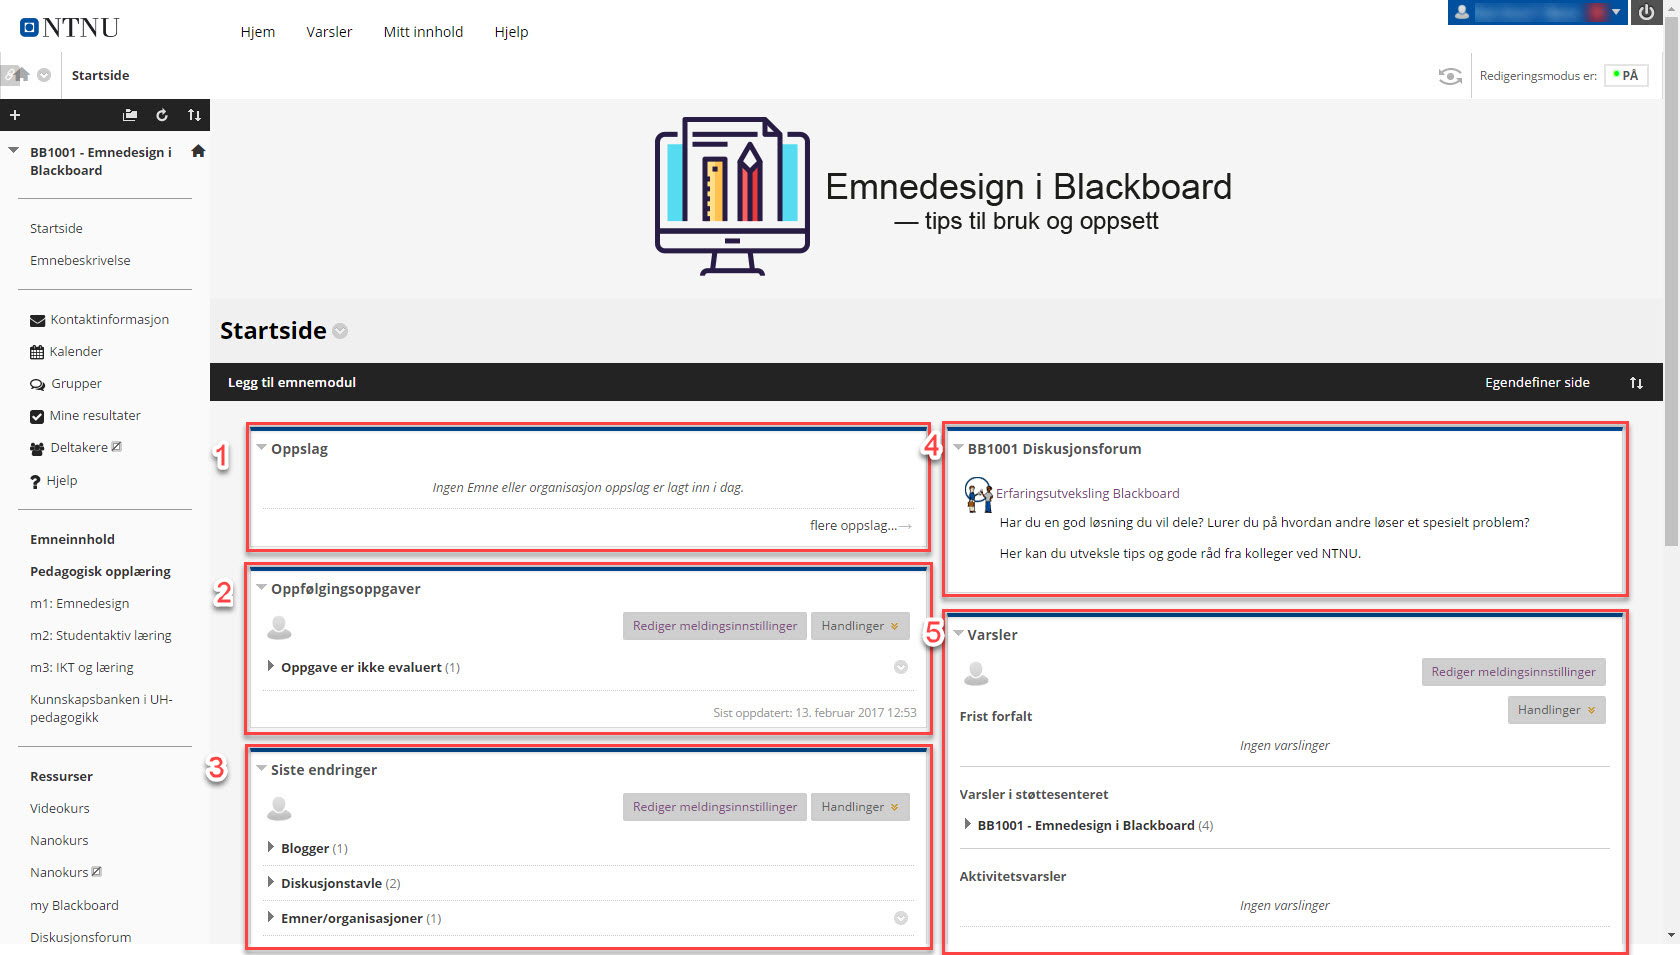
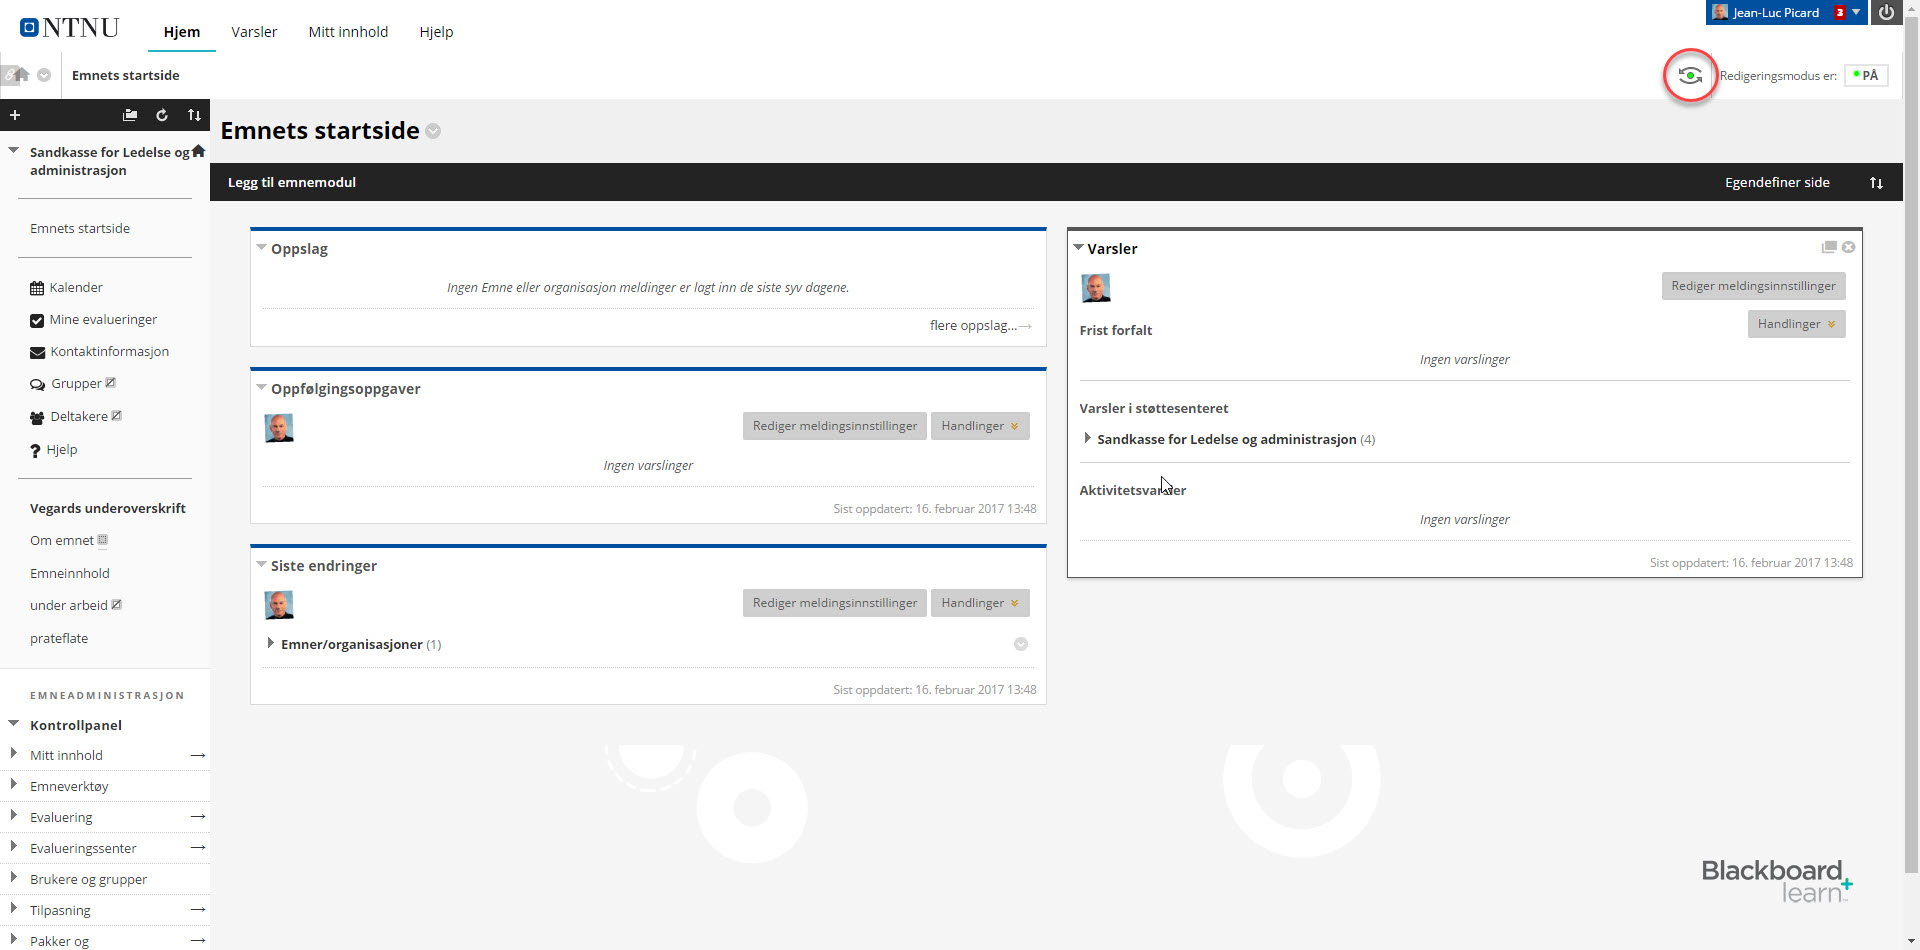
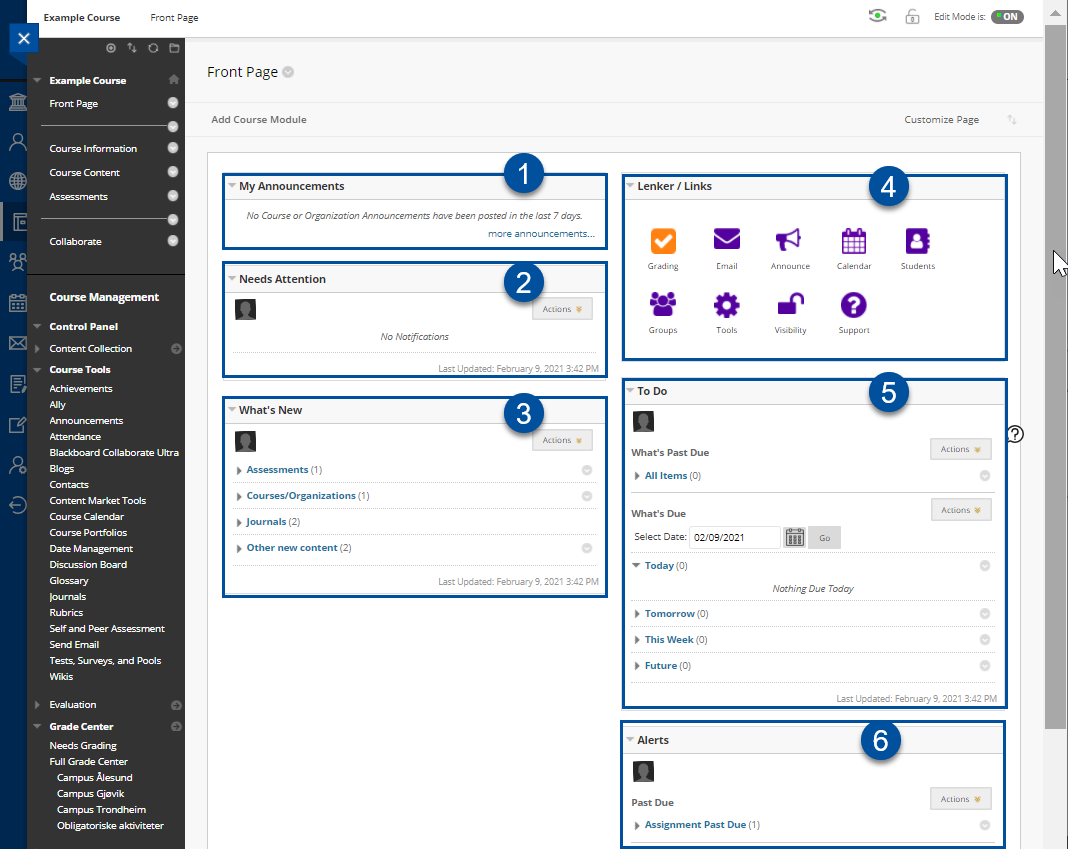
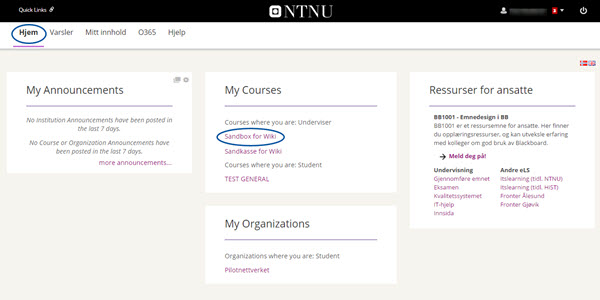
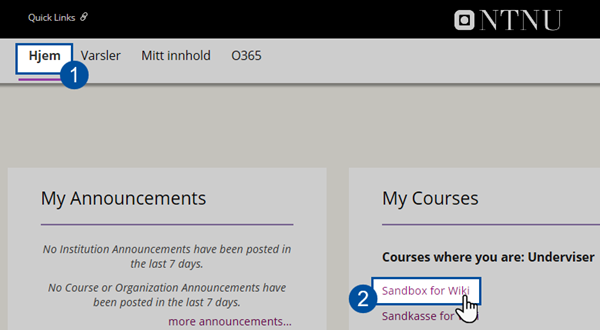
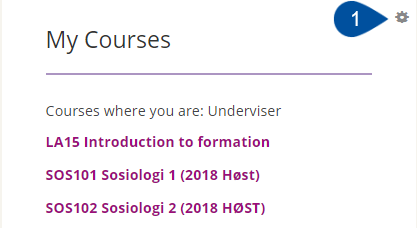
To enter a course, go to the Start-tab and choose a course below "My Courses". You will then arrive at the course homepage. The homepage follow a standard template for the courses in Blackboard, and contains the most relevant modules and shortcuts. This page can me customized if needed. Here, you will receive a walkthrough of the standard template. Be aware that employees and students have slightly different homepages in the courses.
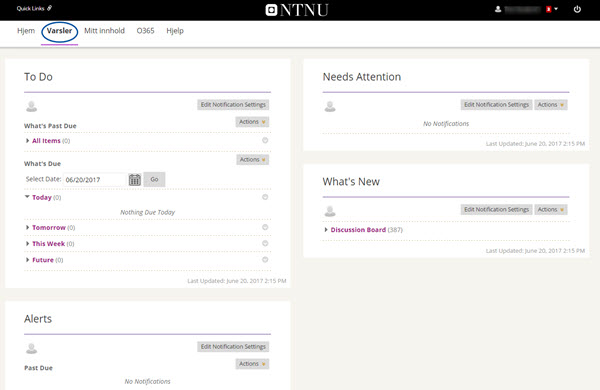
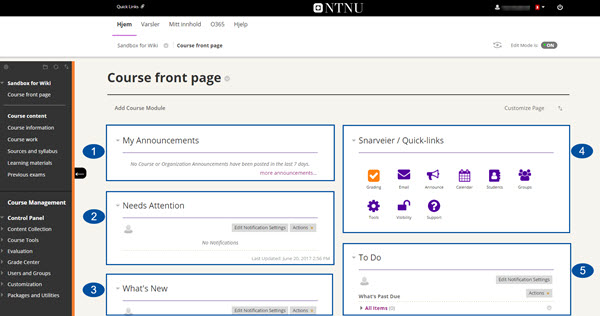
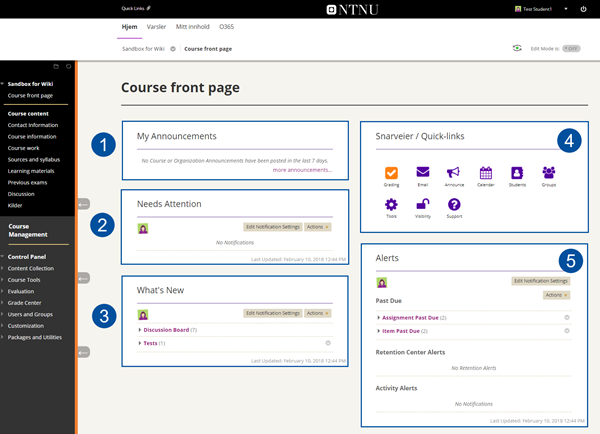
On the homepage to a course, you will usually have an overview of:

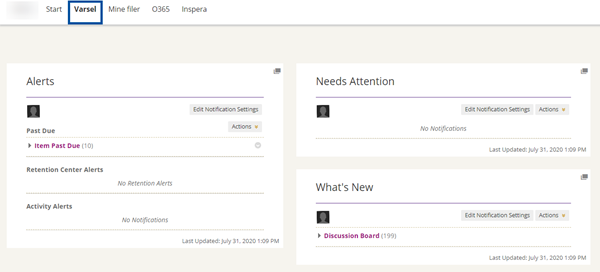
- My Announcements: Gives an overview of announcements published in the specific course in the last 7 days. To see earlier announcements, click on "more announcements"
- Needs attention: Assignments that you or other instructors in the course must follow up.
- What's new: Provides an overview of user activity in the course. If a discussion board has been created in the course, recent changes will appear here.
- Lenker/links: Here you will find shortcuts to useful functions in your course, such as the Grading Center and a list of students in the course.
- To Do: An overivew of obligatory assessments for you to assess.
- Alerts: Provides a comprehensive overview of notifications in the course, such as deadlines related to submissions.
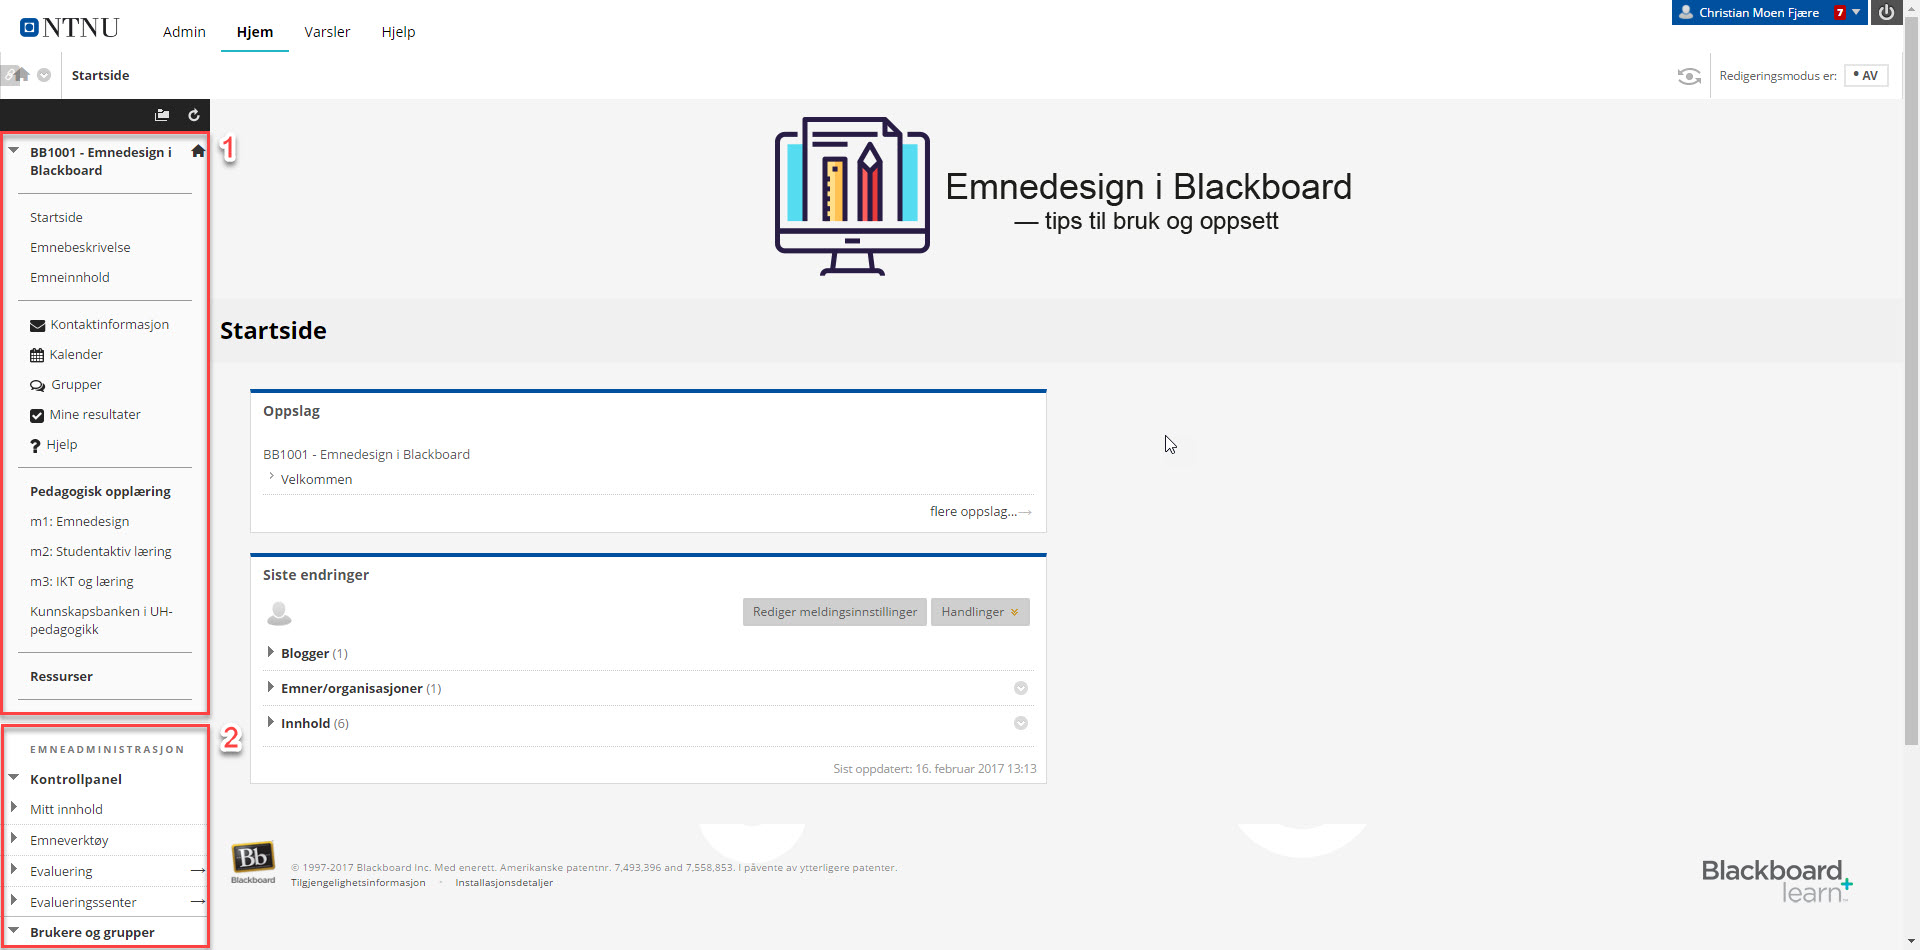
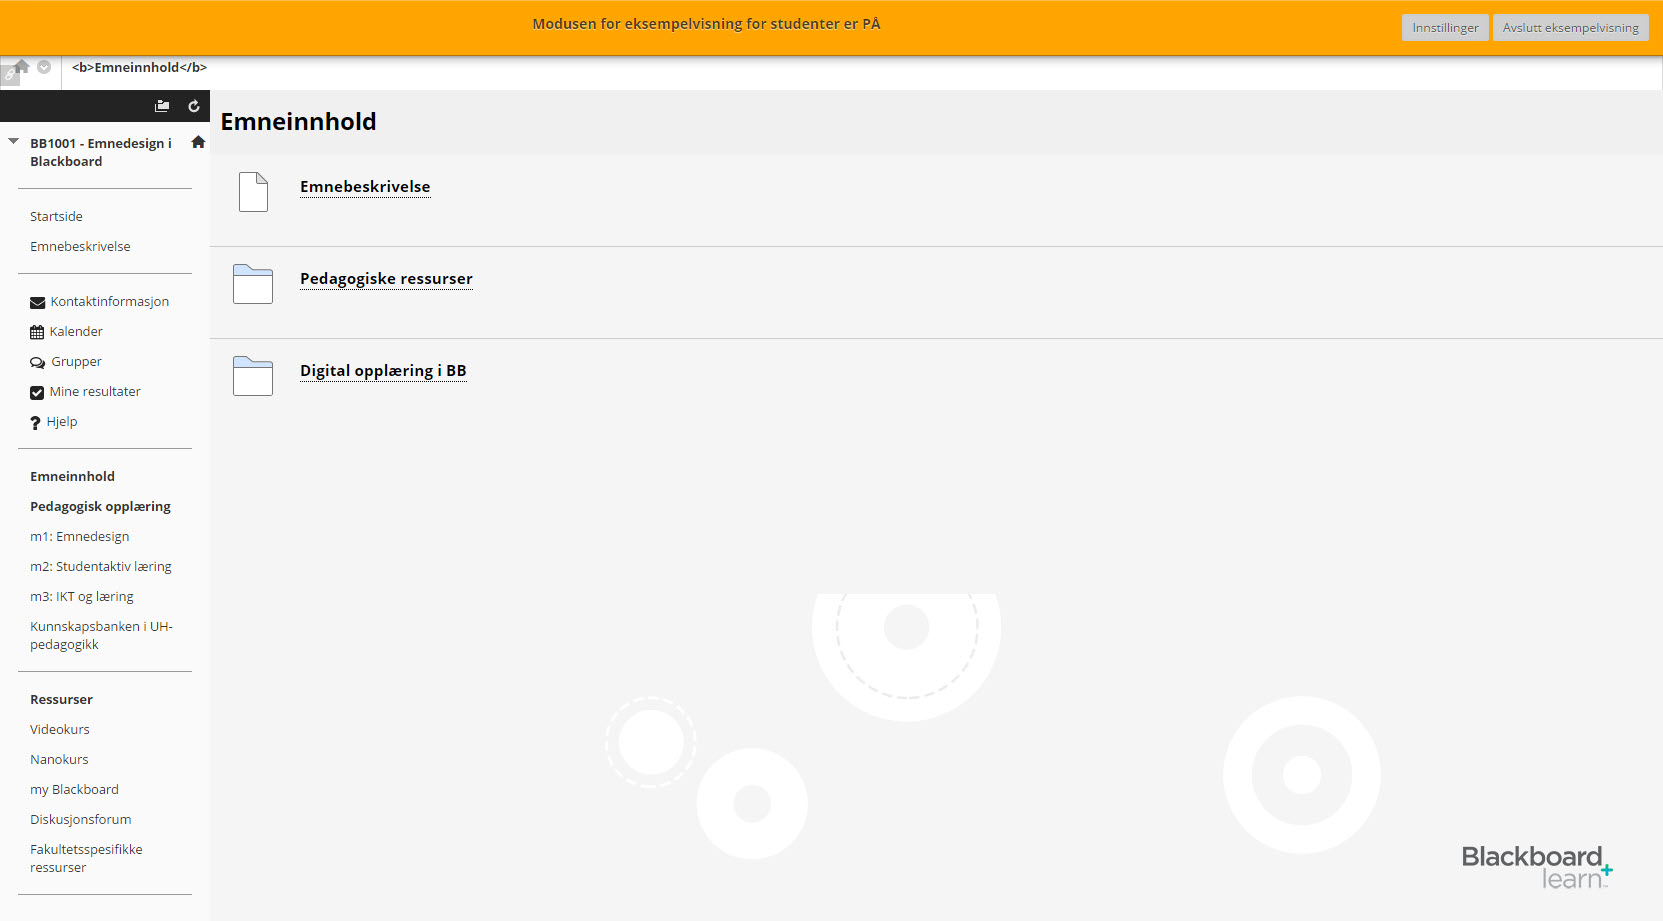
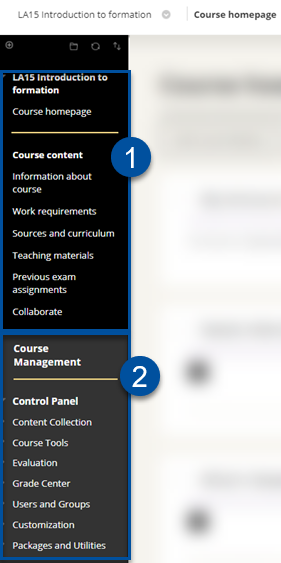
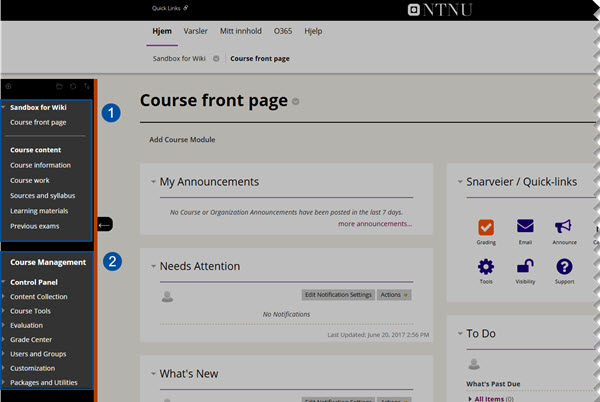
Course menu
The course menu that you find to the left in the homepage, consists of two parts: At the top, you find course content, and at the bottom you find course management.
Students will only be able to see course content, and it should be designed so that the students easily can find the resources they need access to. Each course room is created with a standard course menu, but this can easily be customized. It is recommended, however, that there is defined a standard of the structure of the sections on faculty and department level, to make it the most user-friendly and predictable for all students.
Course management is only for you who is an instructor in the course, and gives you access to the tools you need to be able to administrate the course. To read more about the course management menu, see: The course management menu.
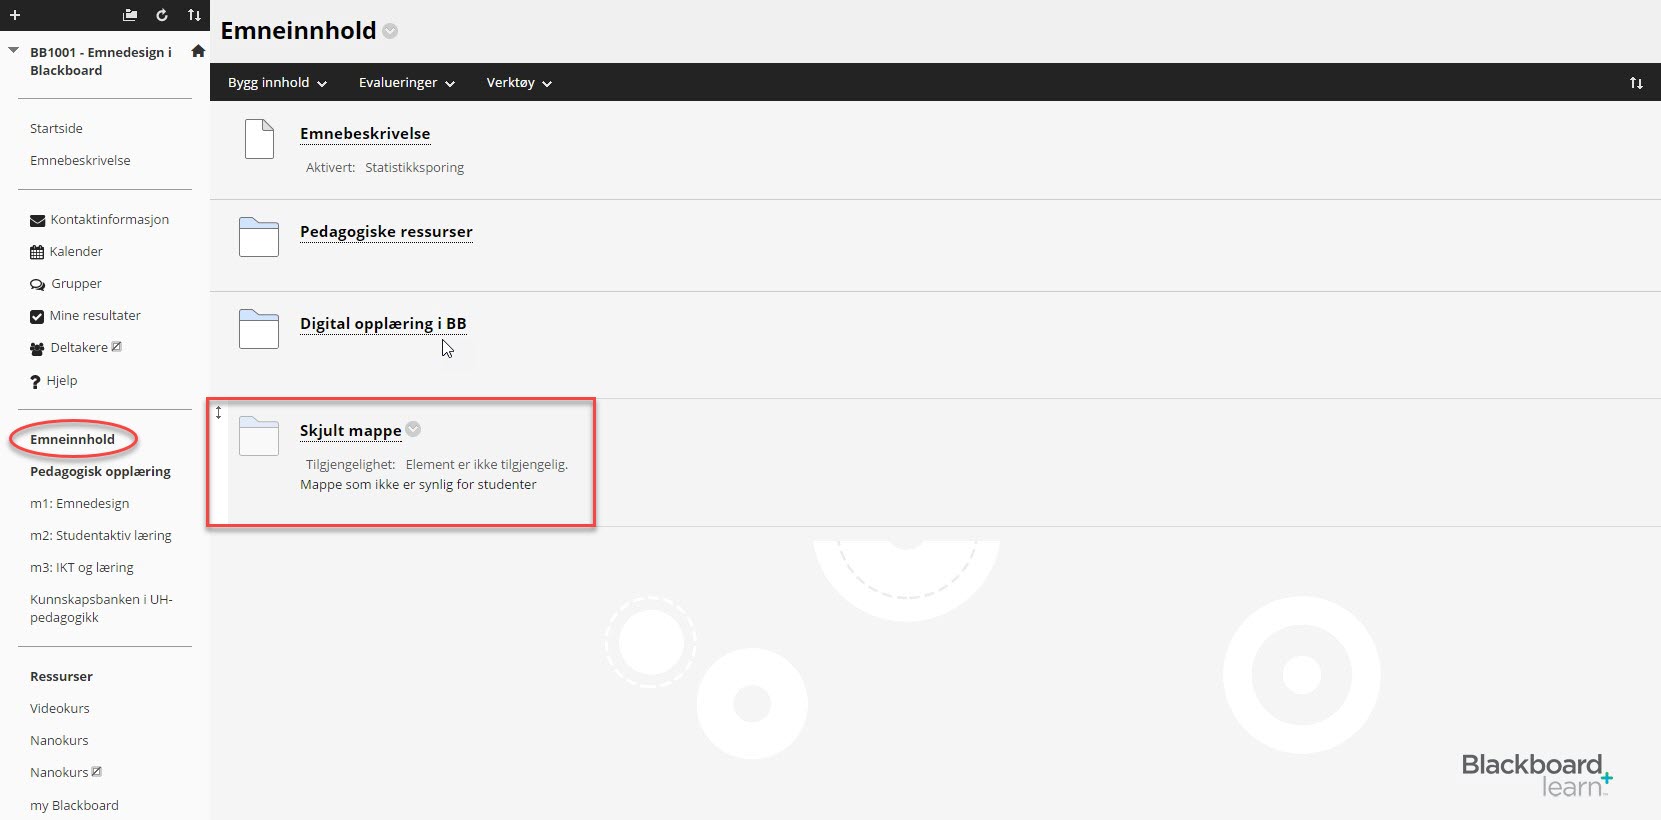
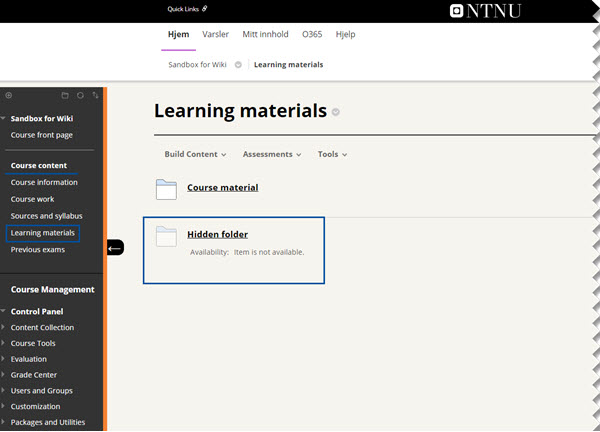
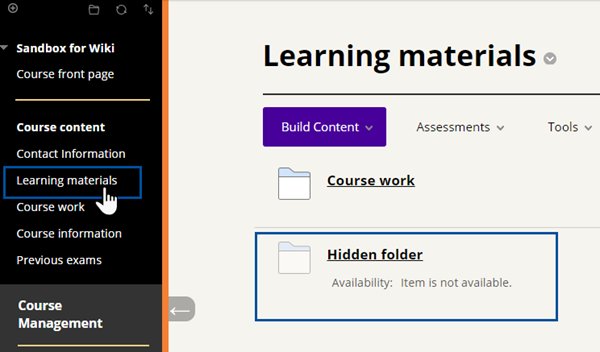
Content area in the course
Learning resources that are to be made available to students are placed in different content areas below course content. To read more about how you can organize and create content areas, see: Adjusting the course menu.
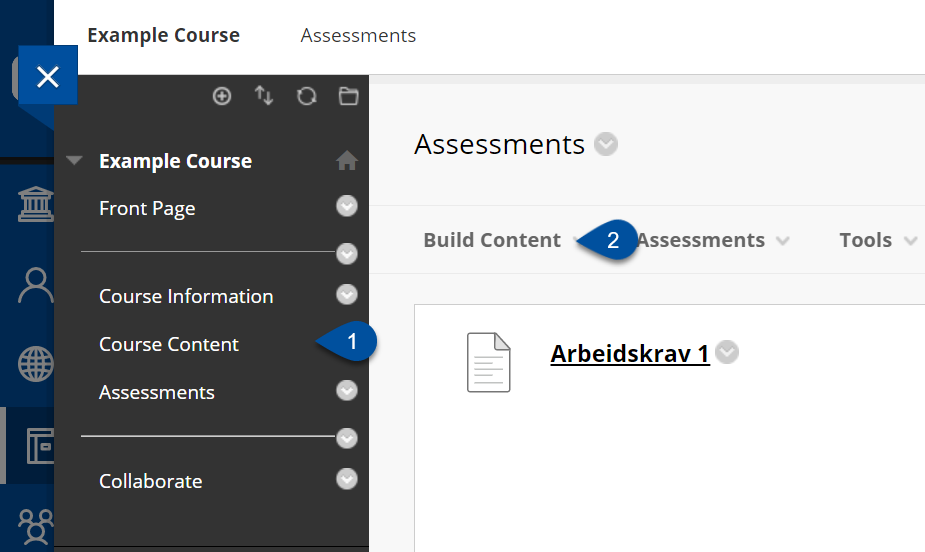
By selecting, for example, Work requirements (1) in the course content menu, you will get to the corresponding content area. Here you can build content, create assessments and add other tools by using the three boxes at the top. This is not available to students. To read more about how you can customize your content areas, see the user guide: Content areas and menus for adding content.
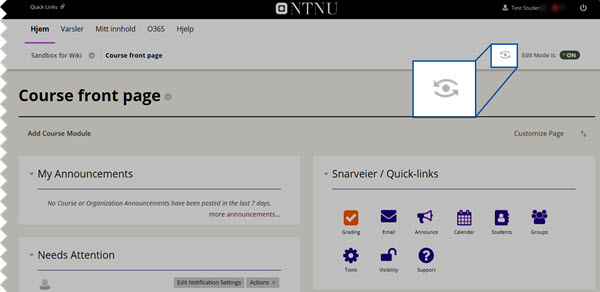
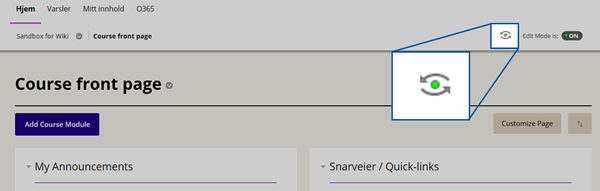
Student preview
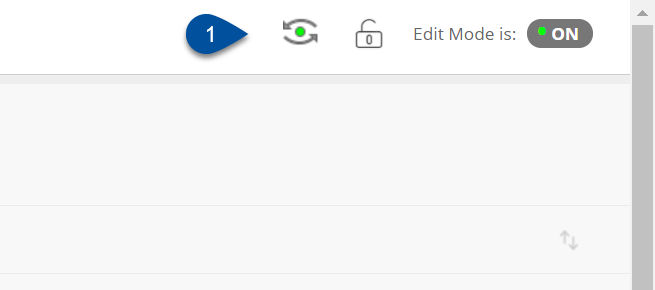
If you want to know how the course will look like for students enrolled in the course, you can enter student preview (1). In student preview you will be able to browse through the course and see content the same way as your students. This function can, among other things, be used to check if students have access to content in the course.
If you wish to read more about student preview, see this user guide:Student preview and edit mode.
See also
- Blackboard Help Page
- Blackboard - Tools and functionality
- Blackboard - Student preview and edit mode
- Blackboard - Edit course front page and other module pages
- Blackboard - The course management menu
Contact
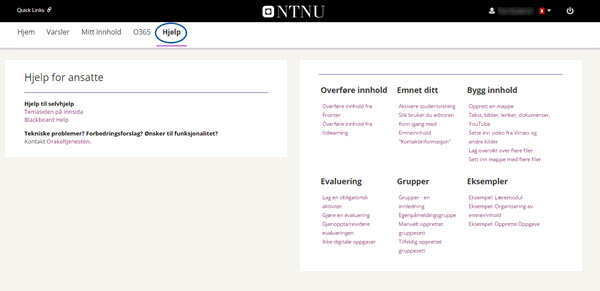
Orakel Support Service can help you if you have questions or encounter difficulties.