Blackboard - Using the sandbox - Kunnskapsbasen
Blackboard - Using the sandbox
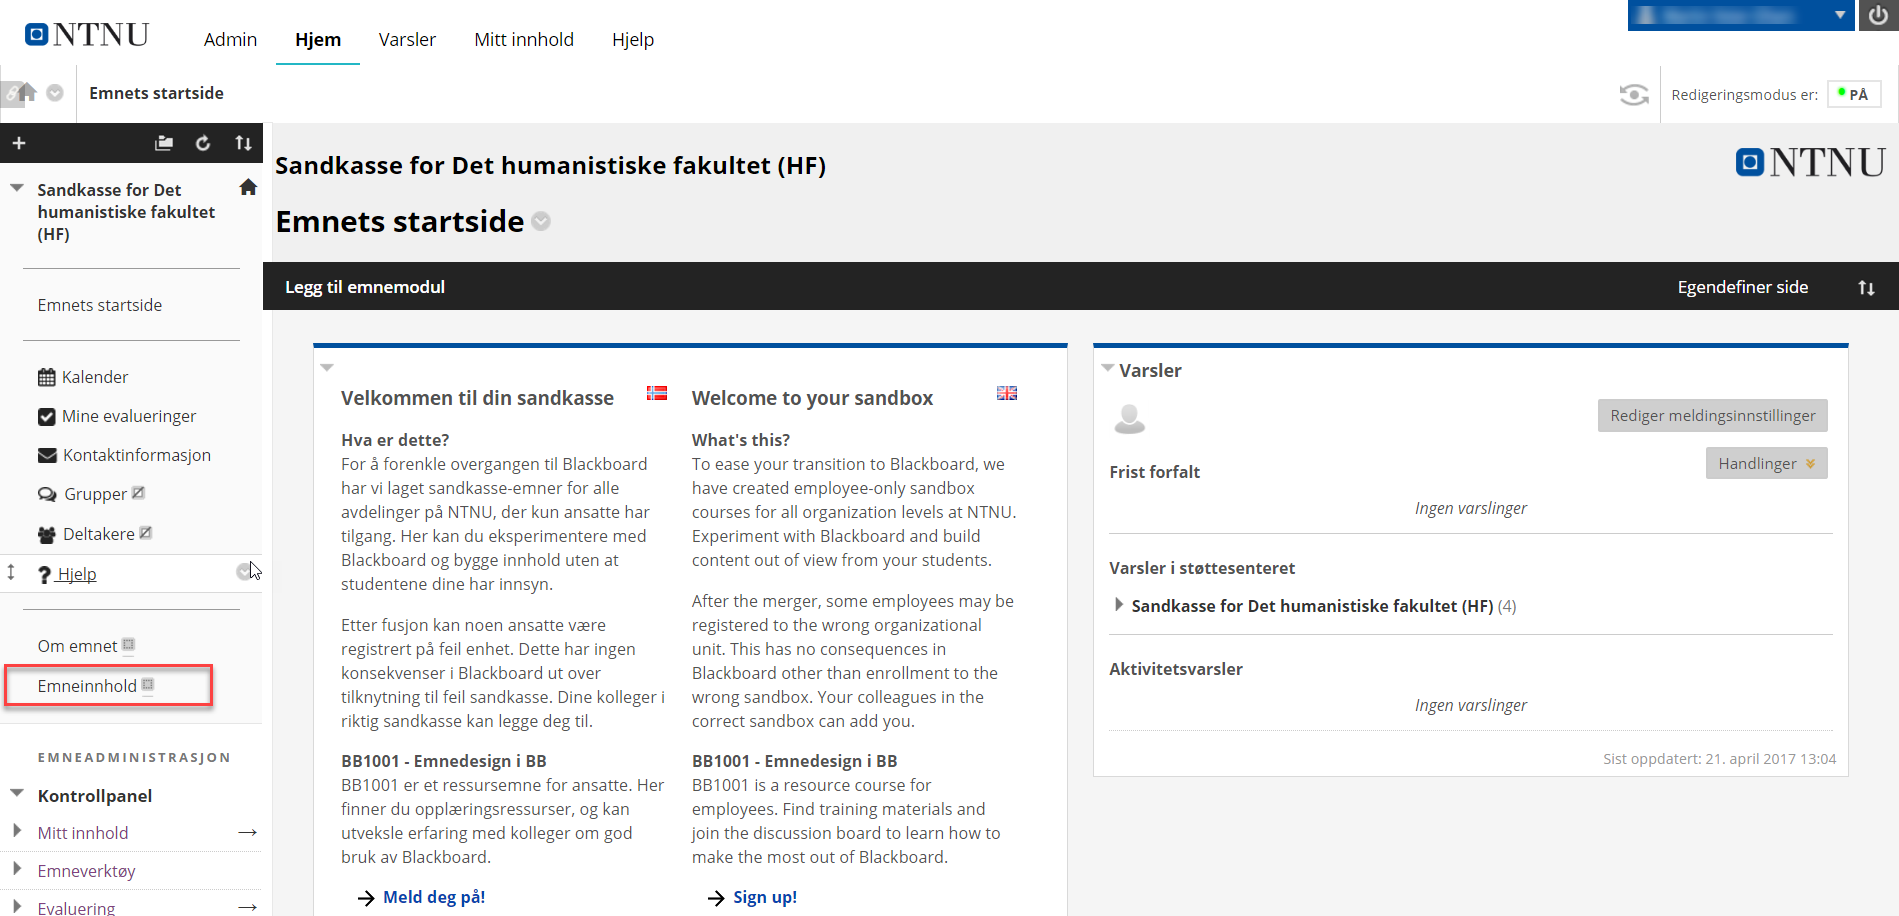
In order for you to try out different functionality in Blackboard, we have created exercise areas, so-called Sandboxes. In the Sandbox you are enrolled with colleagues from your own department and your role is teacher. This allows you to access all tools, features and settings.
This guide shows how employees can use the sandboxes to build content, and how to move this content into your course when the course has become available in Blackboard. This guide only shows one example of how to build content. More thorough guides for building content are available in our other training resources at the information page.
Norsk versjon - Blackboard - Bruk av sandkasse ("sandbox")
Topic page about Blackboard | Pages labelled Blackboard
Navigate to your sandbox
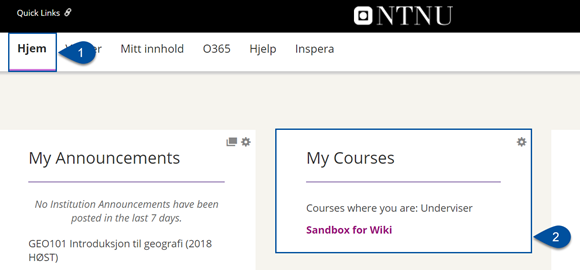
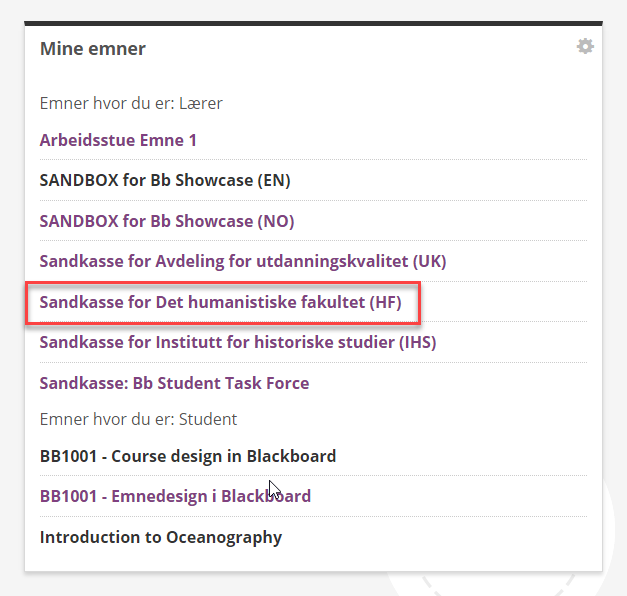
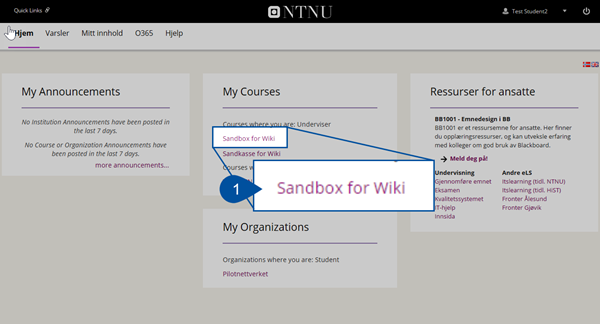
- All Sandboxes that are available to you will be listed on the page called Hjem (Home) (1), under My Courses. Click the link to enter the available Sandbox. This tutorial will use the sandbox called Sandbox for wiki (2) as an example.

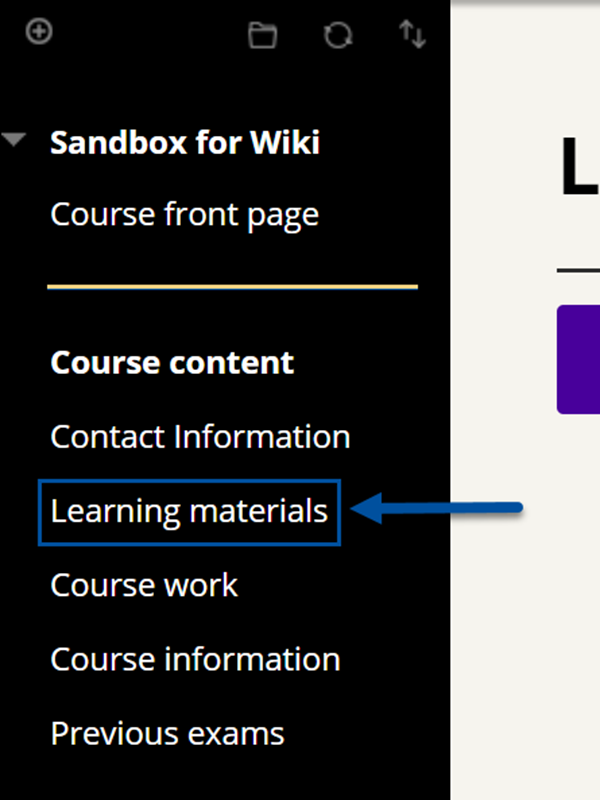
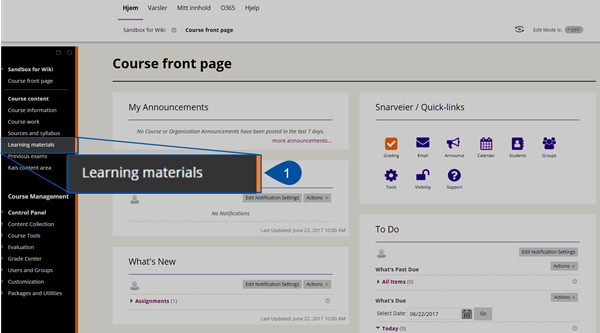
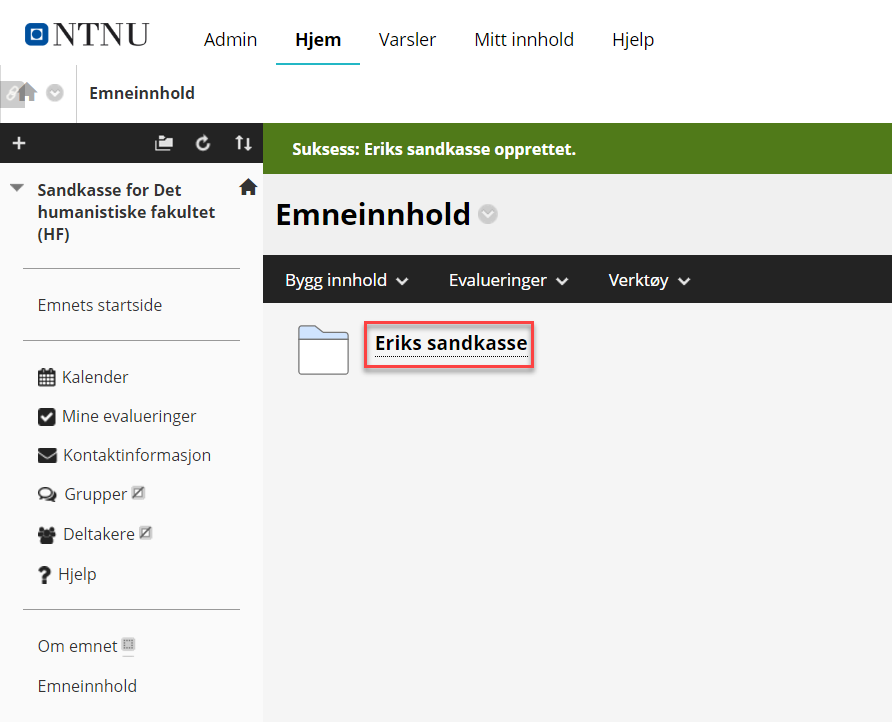
- The course Sandbox will look the same as any ordinary course, and the content can be built in Learning materials.

Building content in the sandbox
If you are using your department's sandbox, we advice you to make a personal folder within Learning materials. This will make it easier for you, and everyone else, to keep track of what content belongs to you.
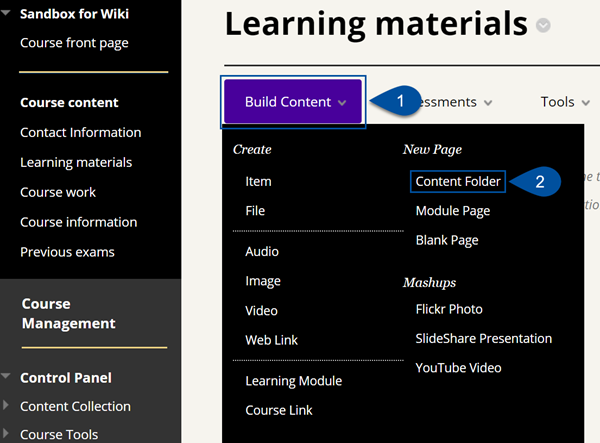
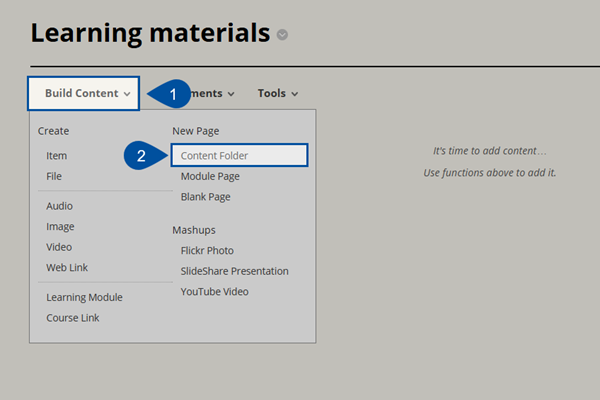
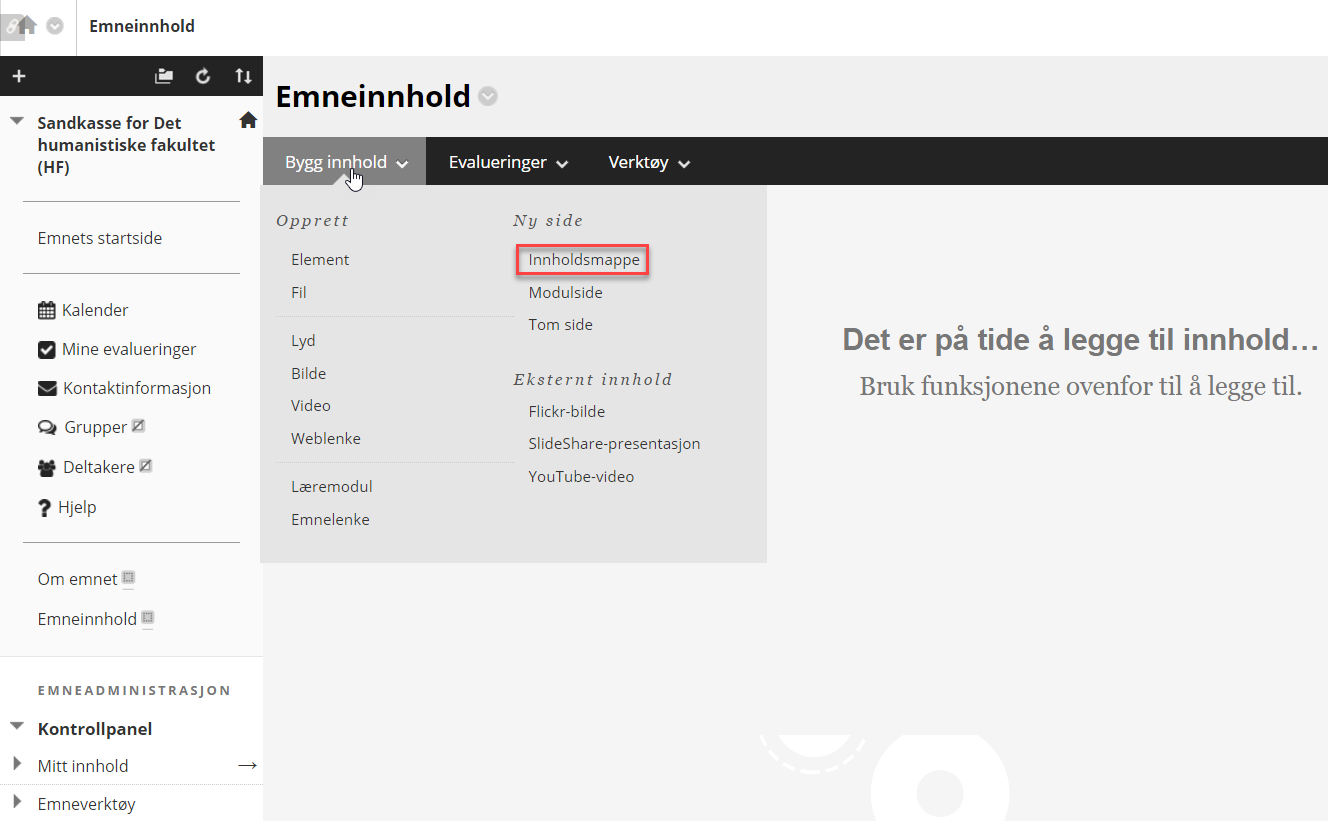
- Too create a Content Folder, select Build Content (1) and then Content Folder (2).

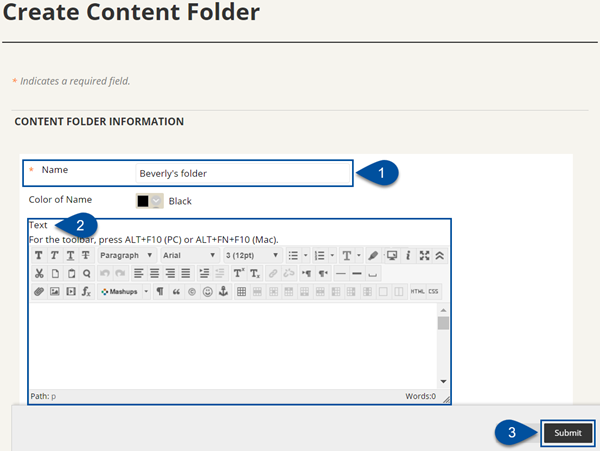
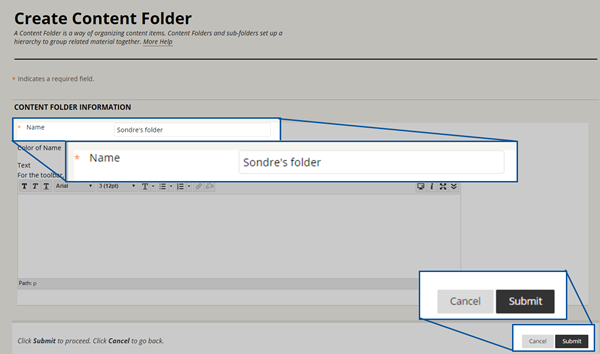
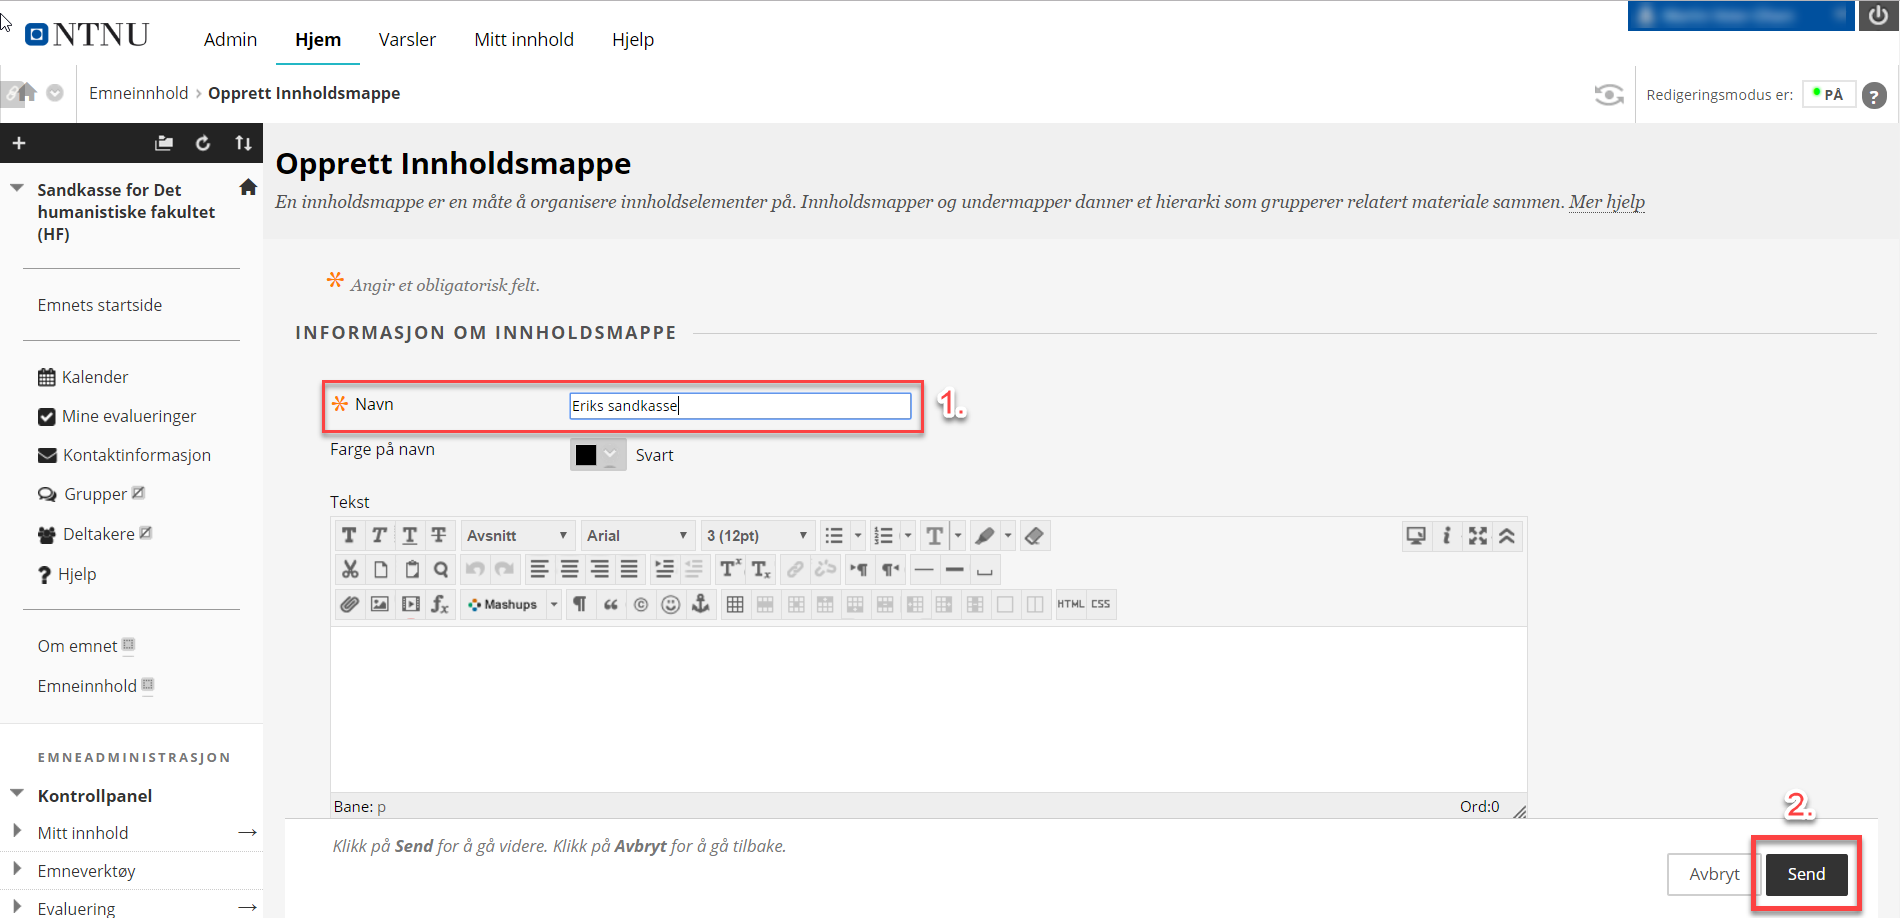
- In the next window you need to type the content folder name (1). It is advisable to use a name that makes it easy for you to identify the folder if you would like to move the content to your own course at a later stage. It is possible to add a description of the folder under Text (2). The description will also be available to students. Press Submit (3) when you are done.

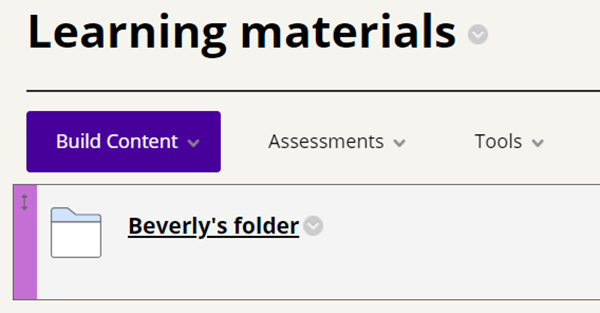
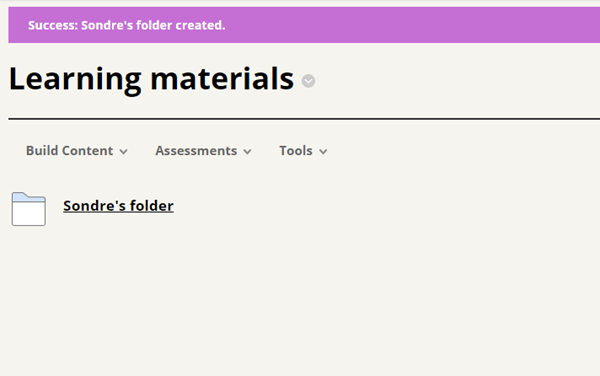
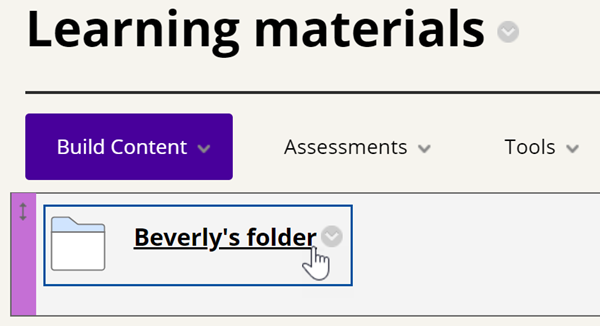
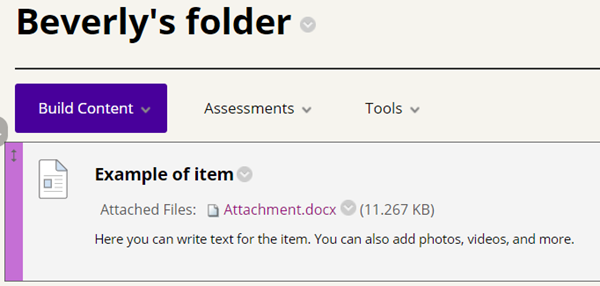
- The folder Beverly's folder is now available in the content area.

Building content in your own folder
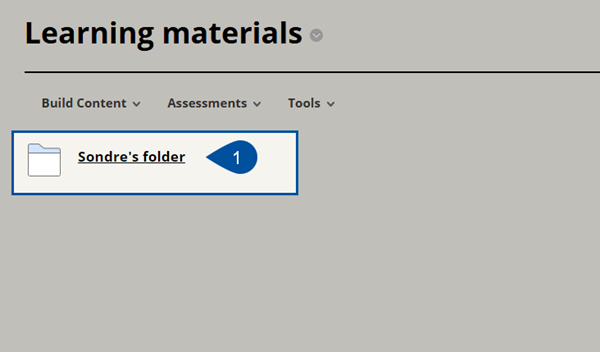
- To build new content inside the folder, enter it by clicking on the folder.

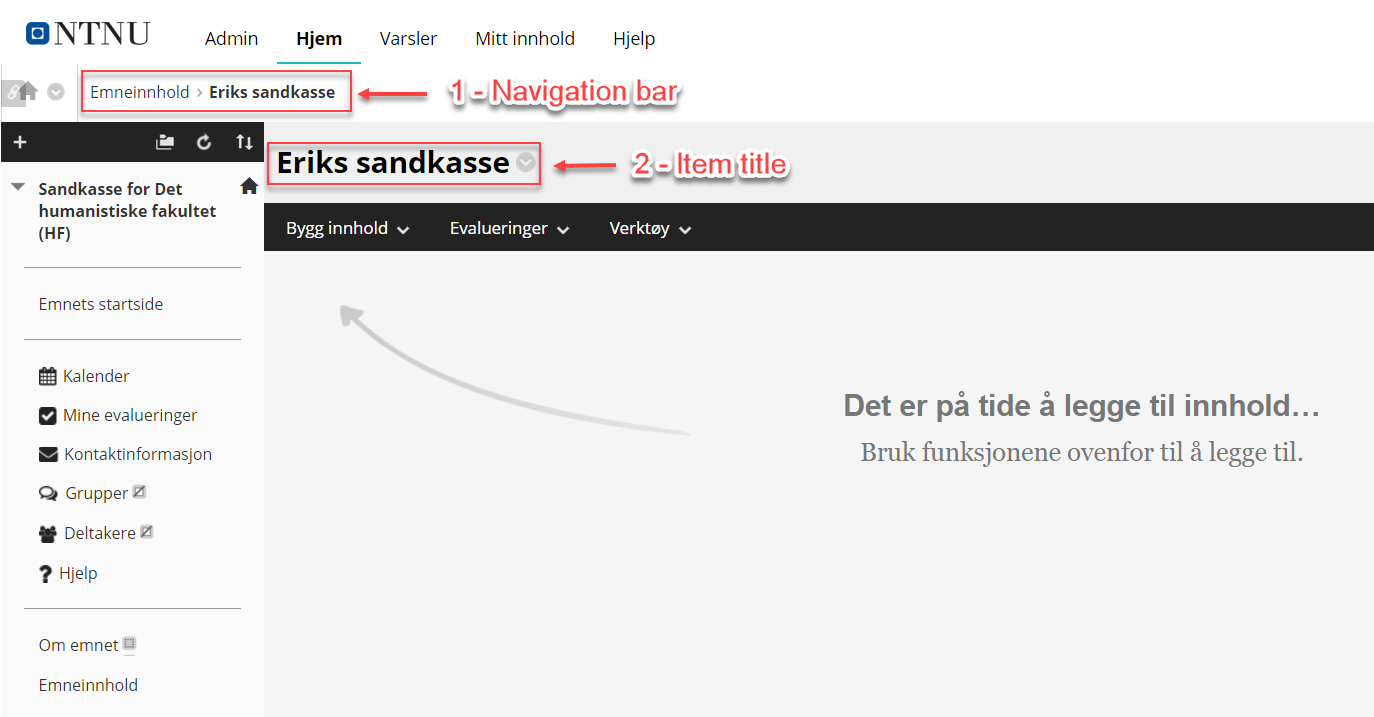
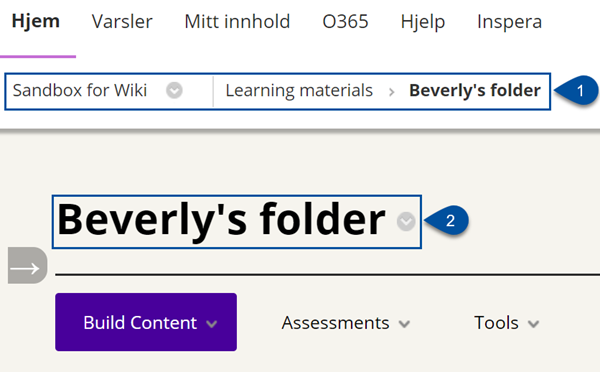
- When you are inside the folder, you will see the folder name in the Navigation Bar (1) and in the Folder Title (2).

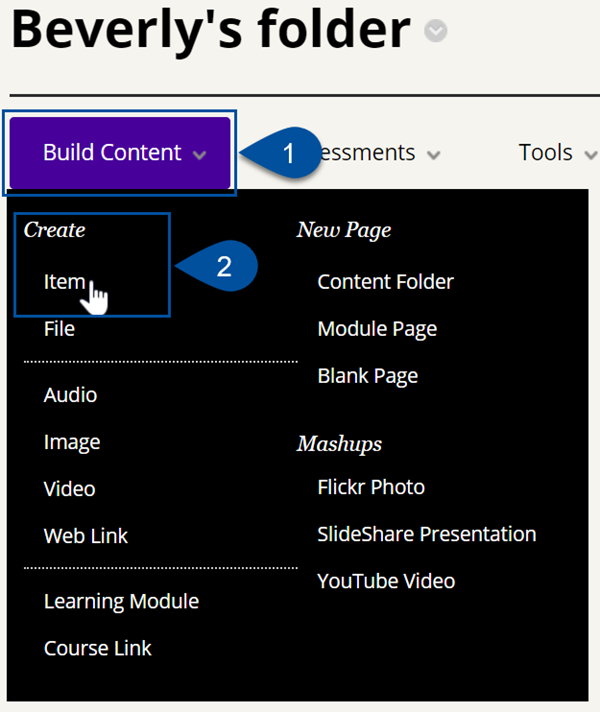
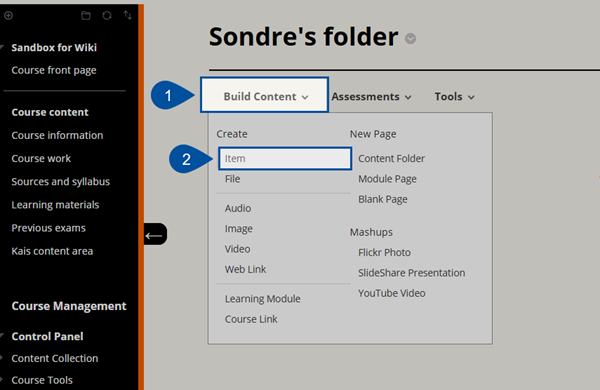
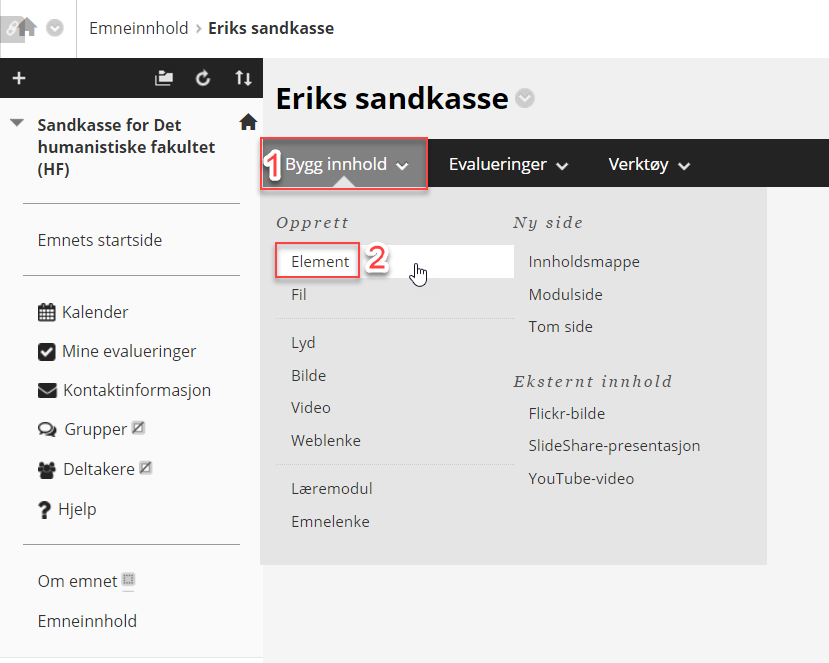
- In this example we will create a new item. First, select Build Content (1) and then Item (2). You will find more information about the different Blackboard elements in our other training resources.

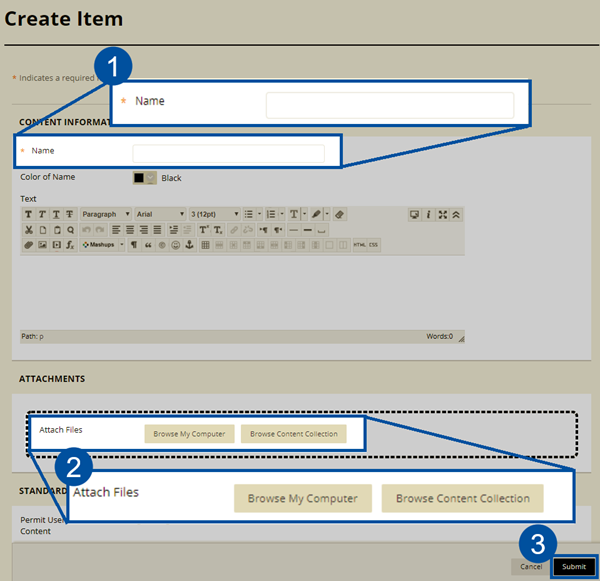
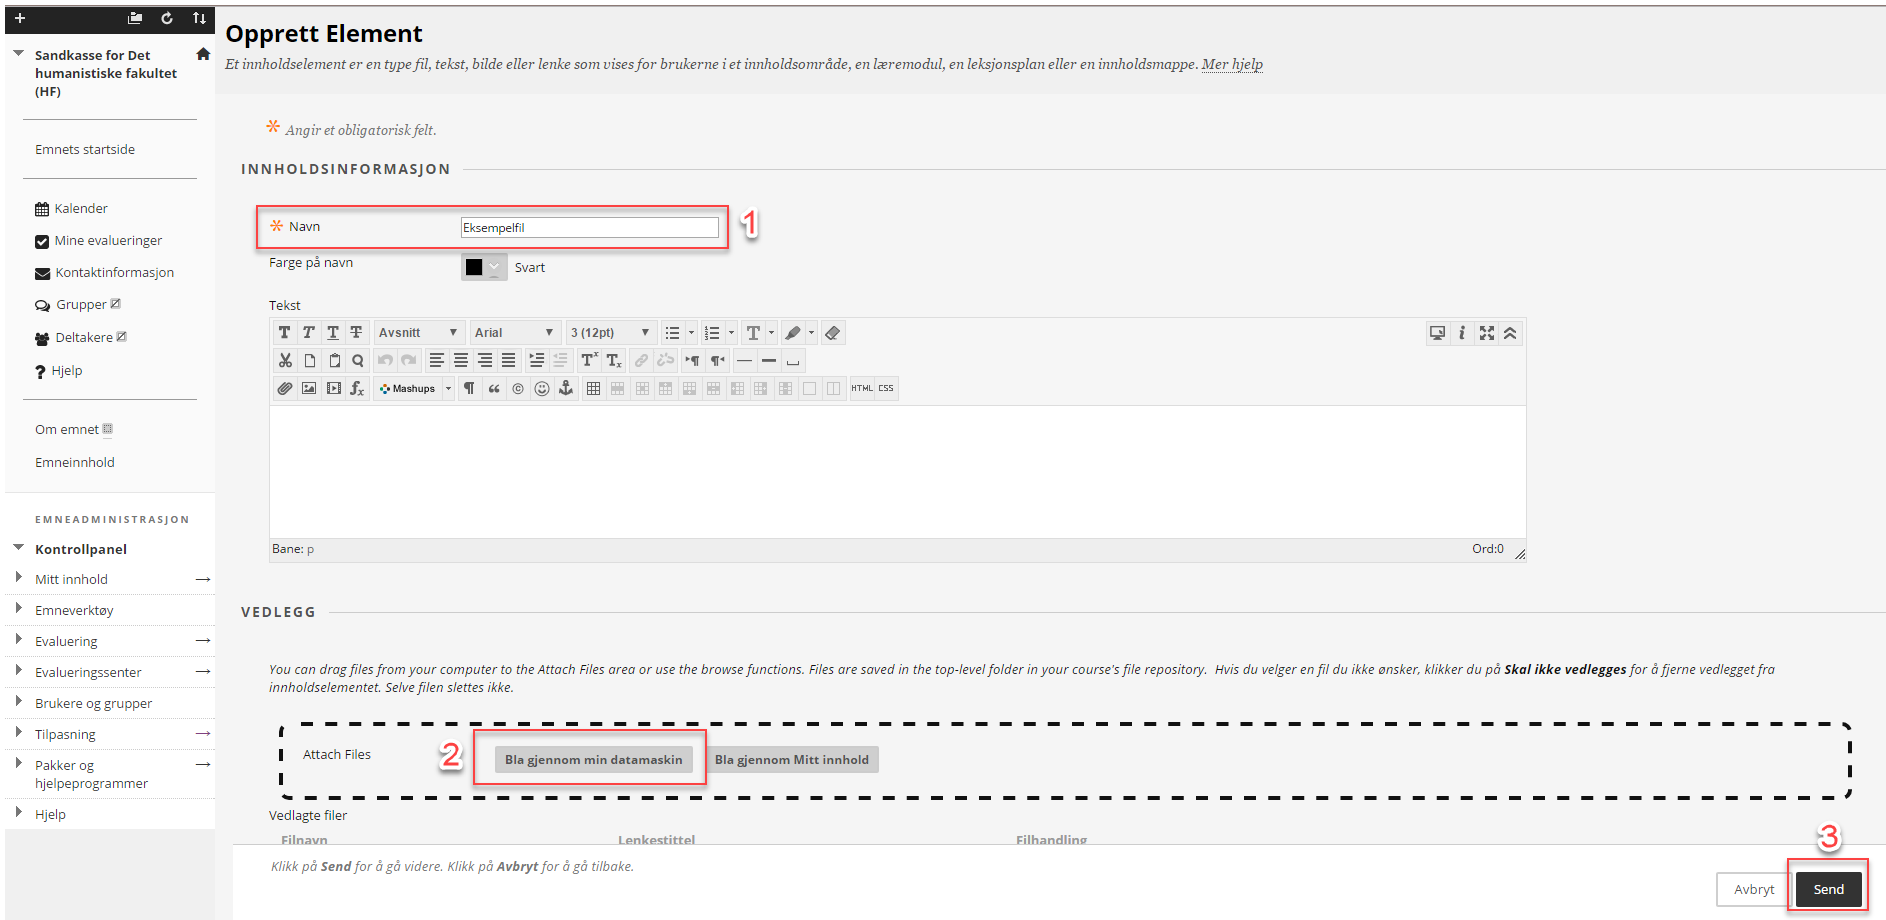
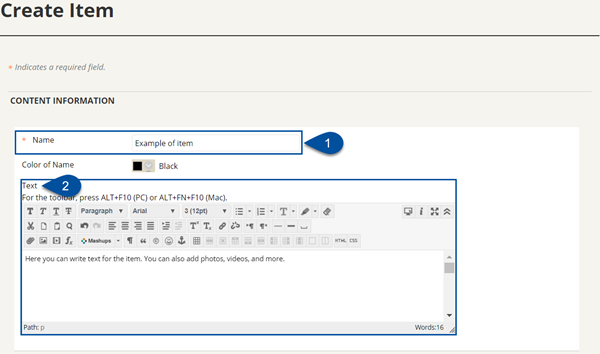
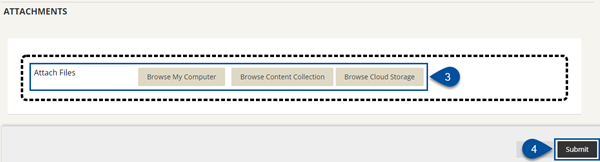
- Type a Name (1), and write Text (2) if you want to. You can also Attach Files (3) by uploading it from Browse My Computer, Browse Content Collection, or Browse Cloud Storage. Click Submit (4) when you are done.


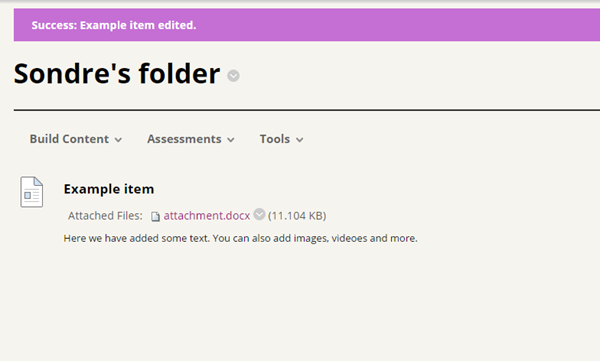
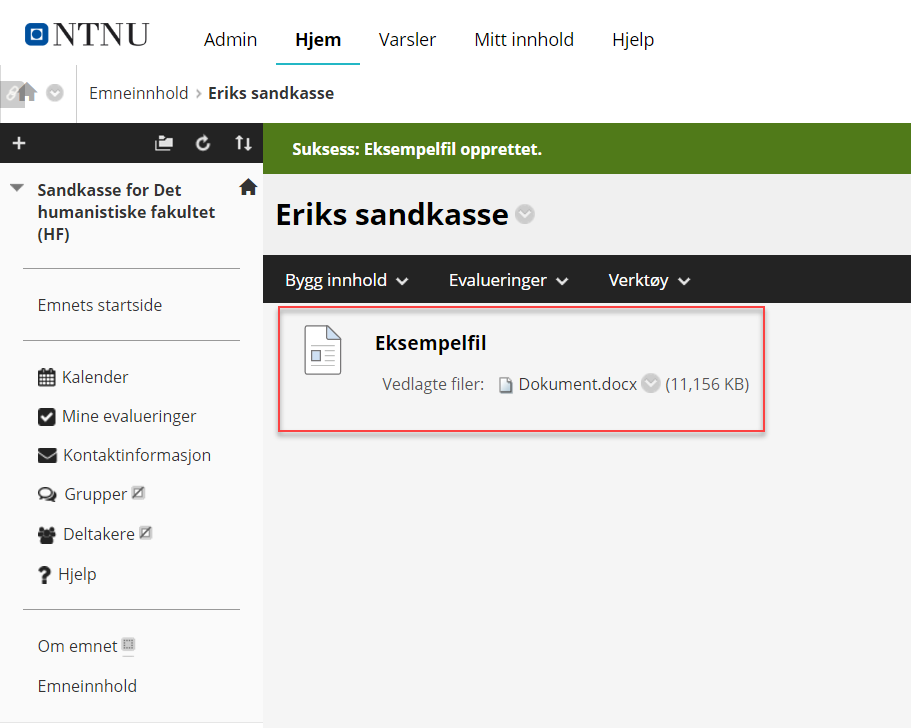
- You have now created an item with an attached file in your folder.

Moving content
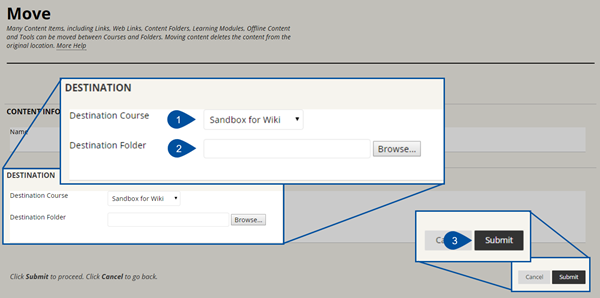
Many content items, such as Links, Web Links, Content Folders, Learning Modules and Course Tools can be moved between courses and folders. Moving content deletes the content from the original location, while copying content does not affect the original content. Certain types of content, such as Discussion Board and Assignment can only be copied between folders inside the course where they were created. This means that they cannot be moved to other courses. To move the folder you just created:
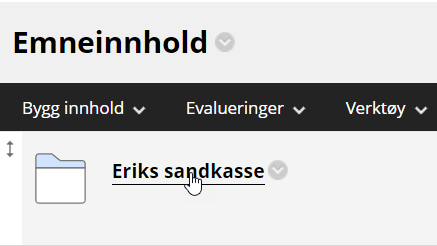
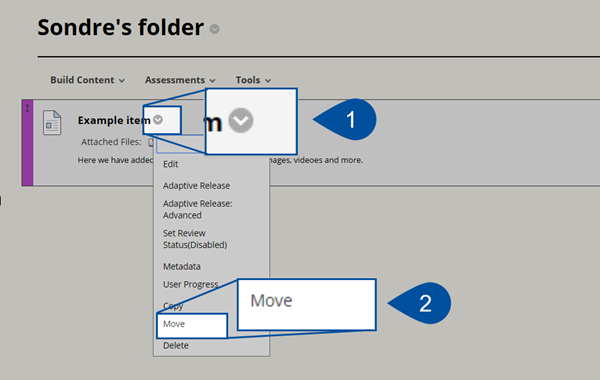
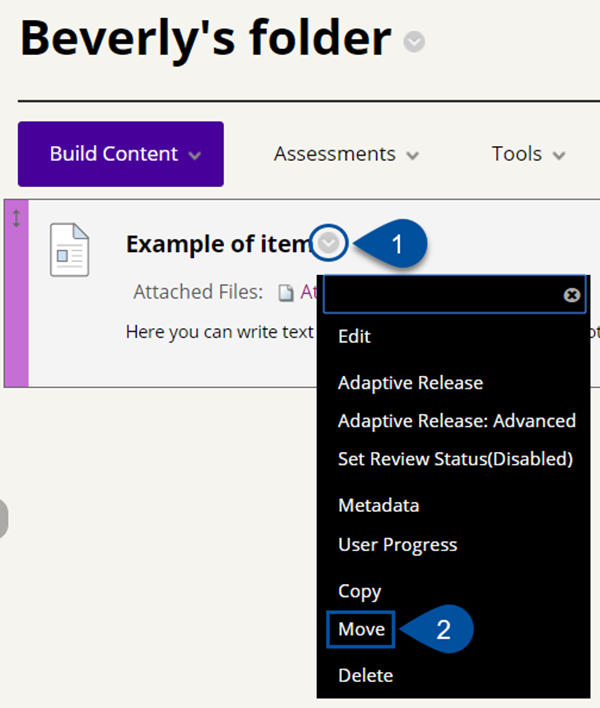
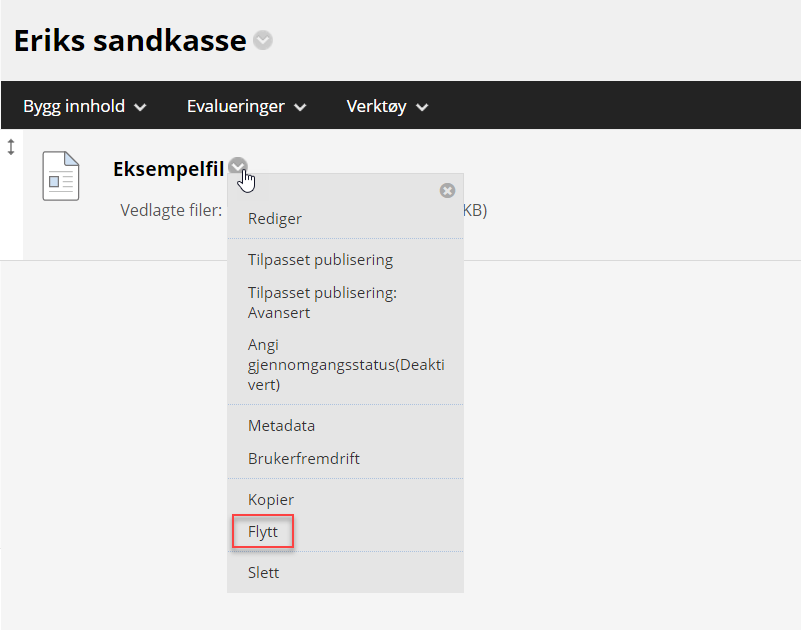
- Find the folder or item you want to move in the content area and click on the arrow (1) next to the folder name to reveal the menu. Choose Move (2) in the dropdown menu.

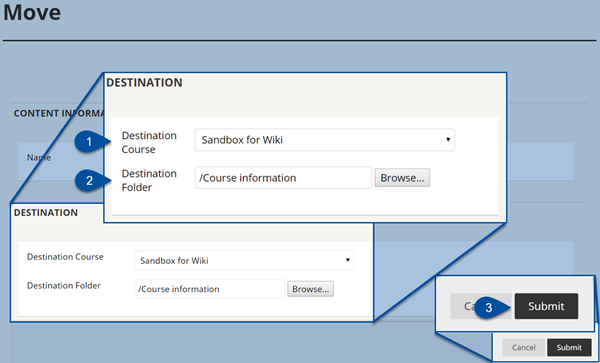
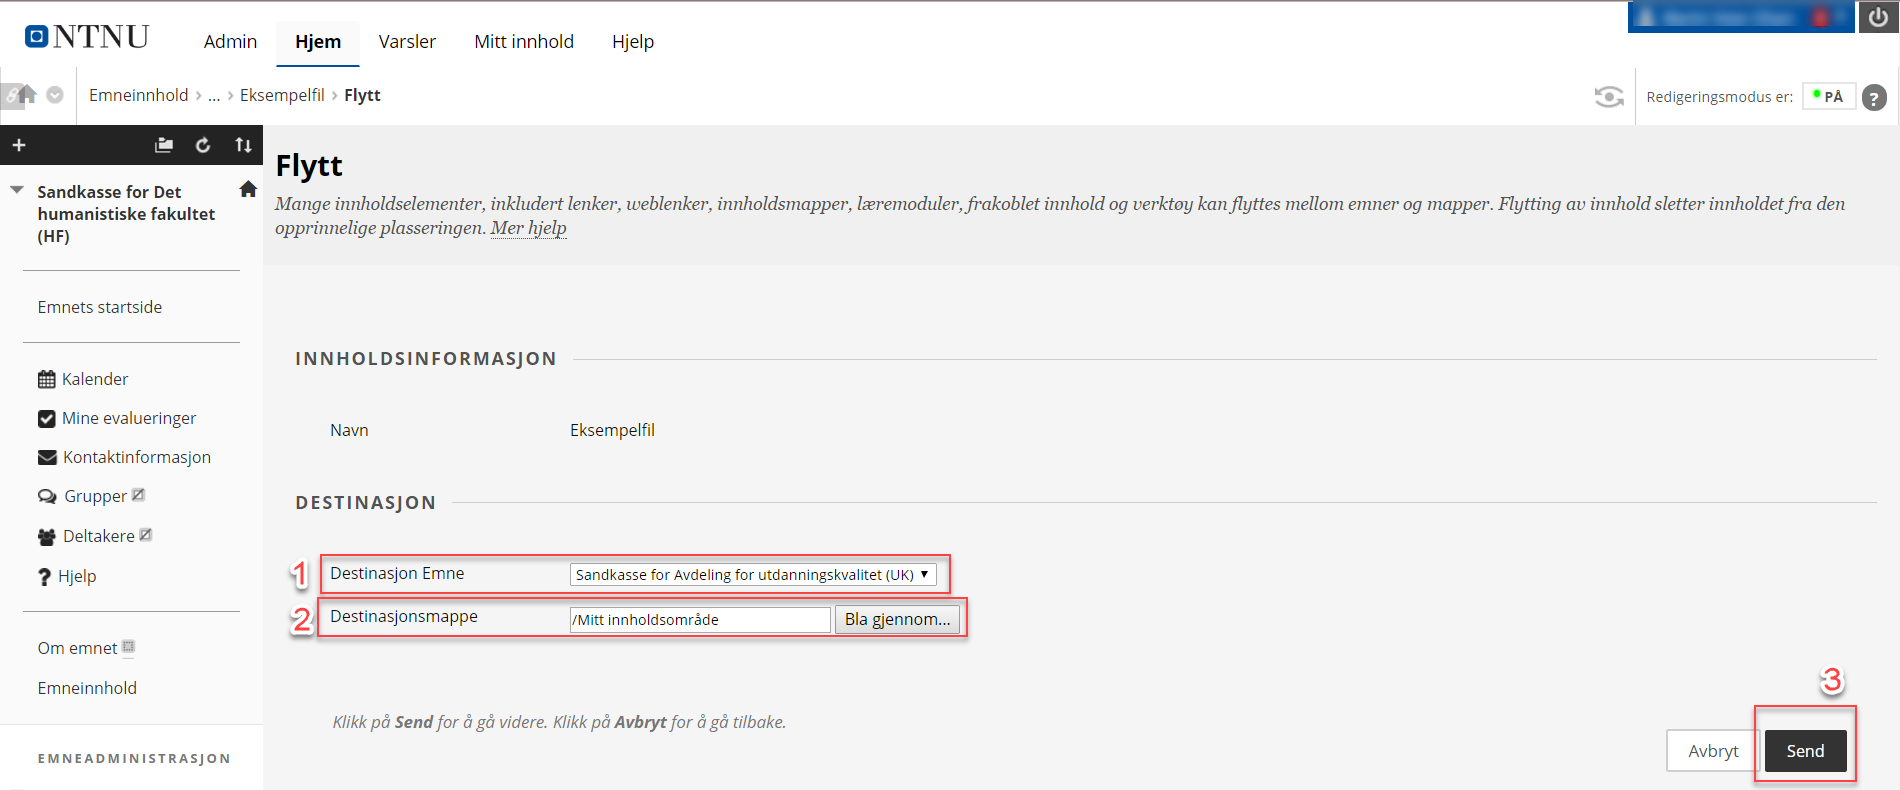
- In the next window you must select the Destination Course (1) and the Destination Folder (2).
In Destination Course you can choose the course you want to move item to. In this example we chose to keep the course Sandbox for Wiki. In Destination Folder we have chosen to move the folder to Course information. When you are done click Submit (3).
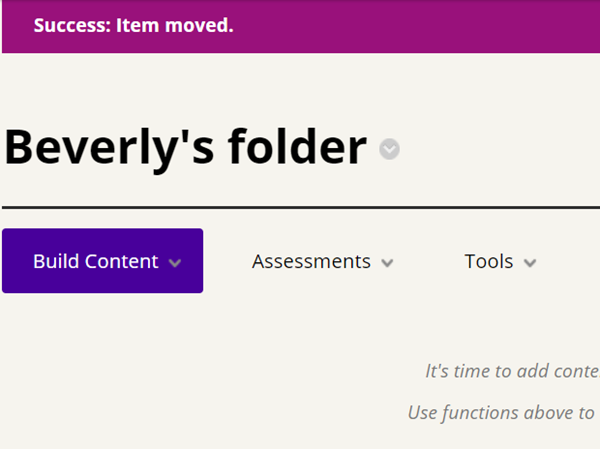
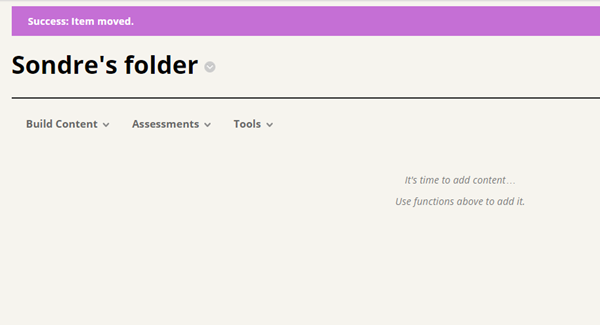
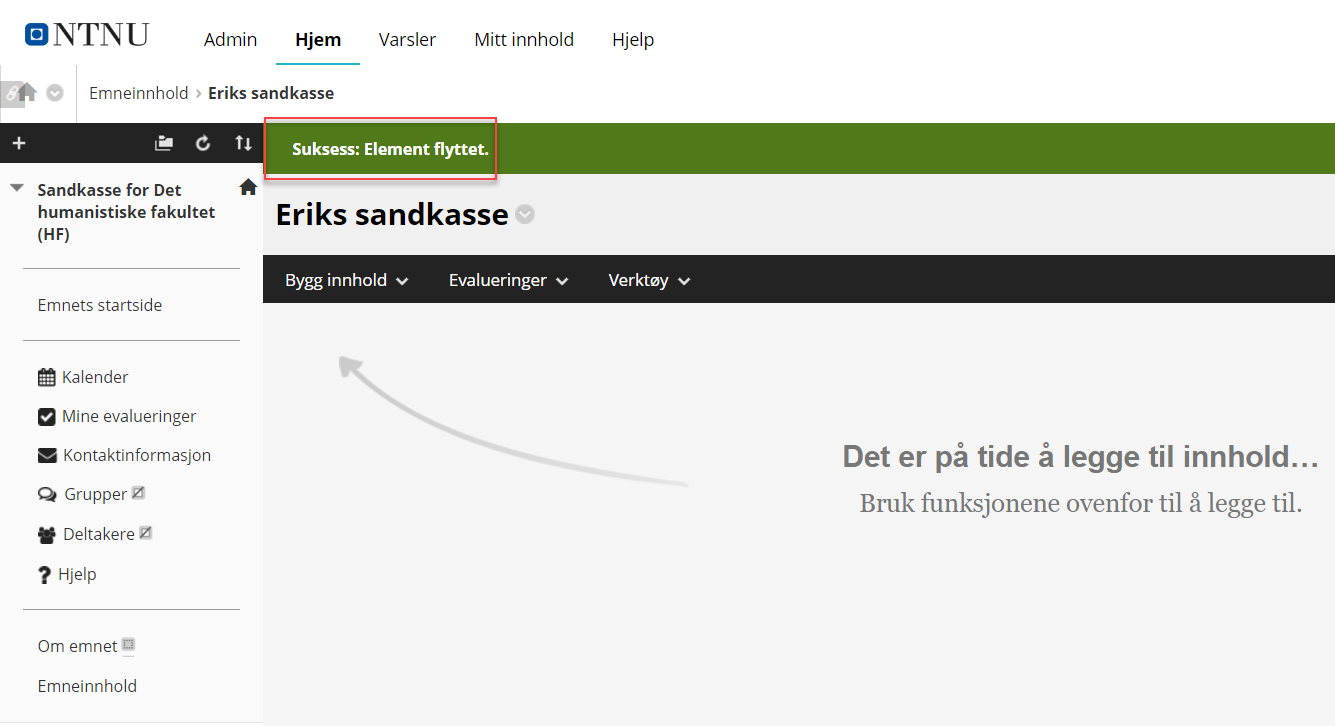
- The item has now been moved to your selected Destination Course and Folder.

- If you enter the area you moved the item, you can see it there. In this example we click on Course information (1), where the item (2) is.

See also
- Blackboard - Copying, moving and deleting content
- Blackboard - Tools and Functionality
- Blackboard - Item and blank page
Contact
For questions or need for assistance contact Orakel Support Services.